| Step 1: | | | Step 2: | |
 | Mixer | Valve |  |  |
| | |
| |
Mixer Control Valve Installation Instructions
| | | | |
Step 3: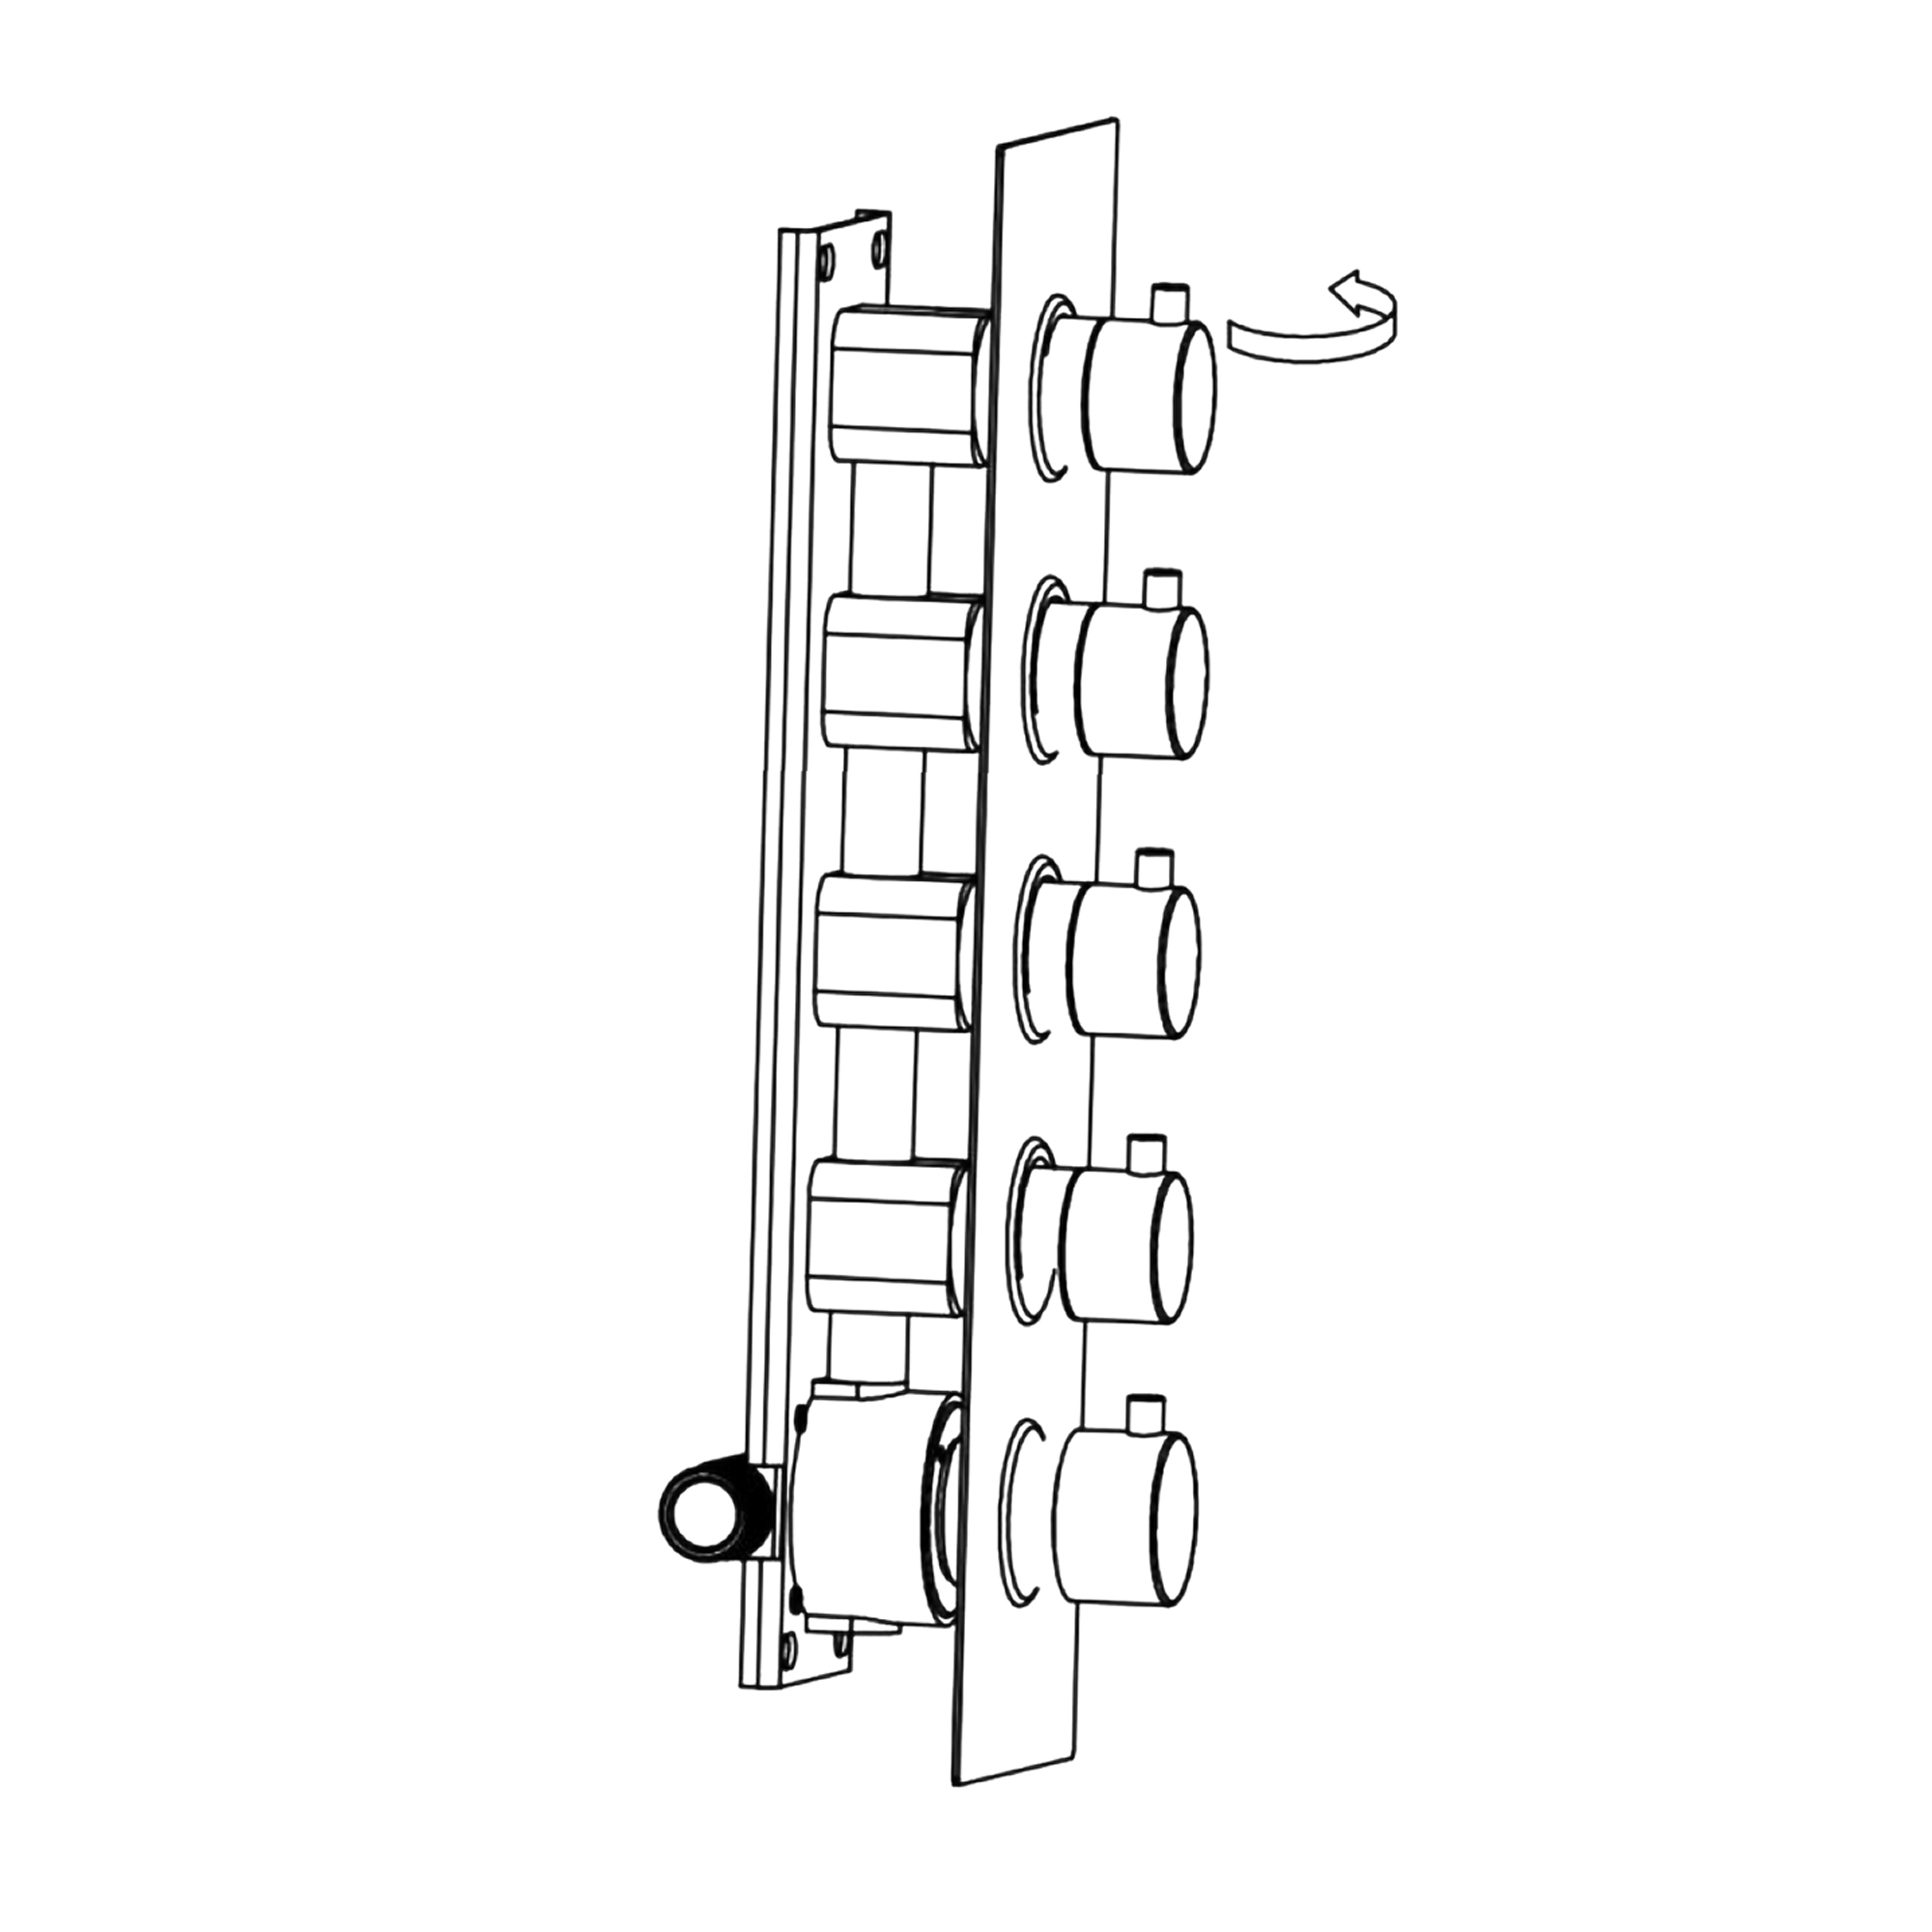 | | | Step 4: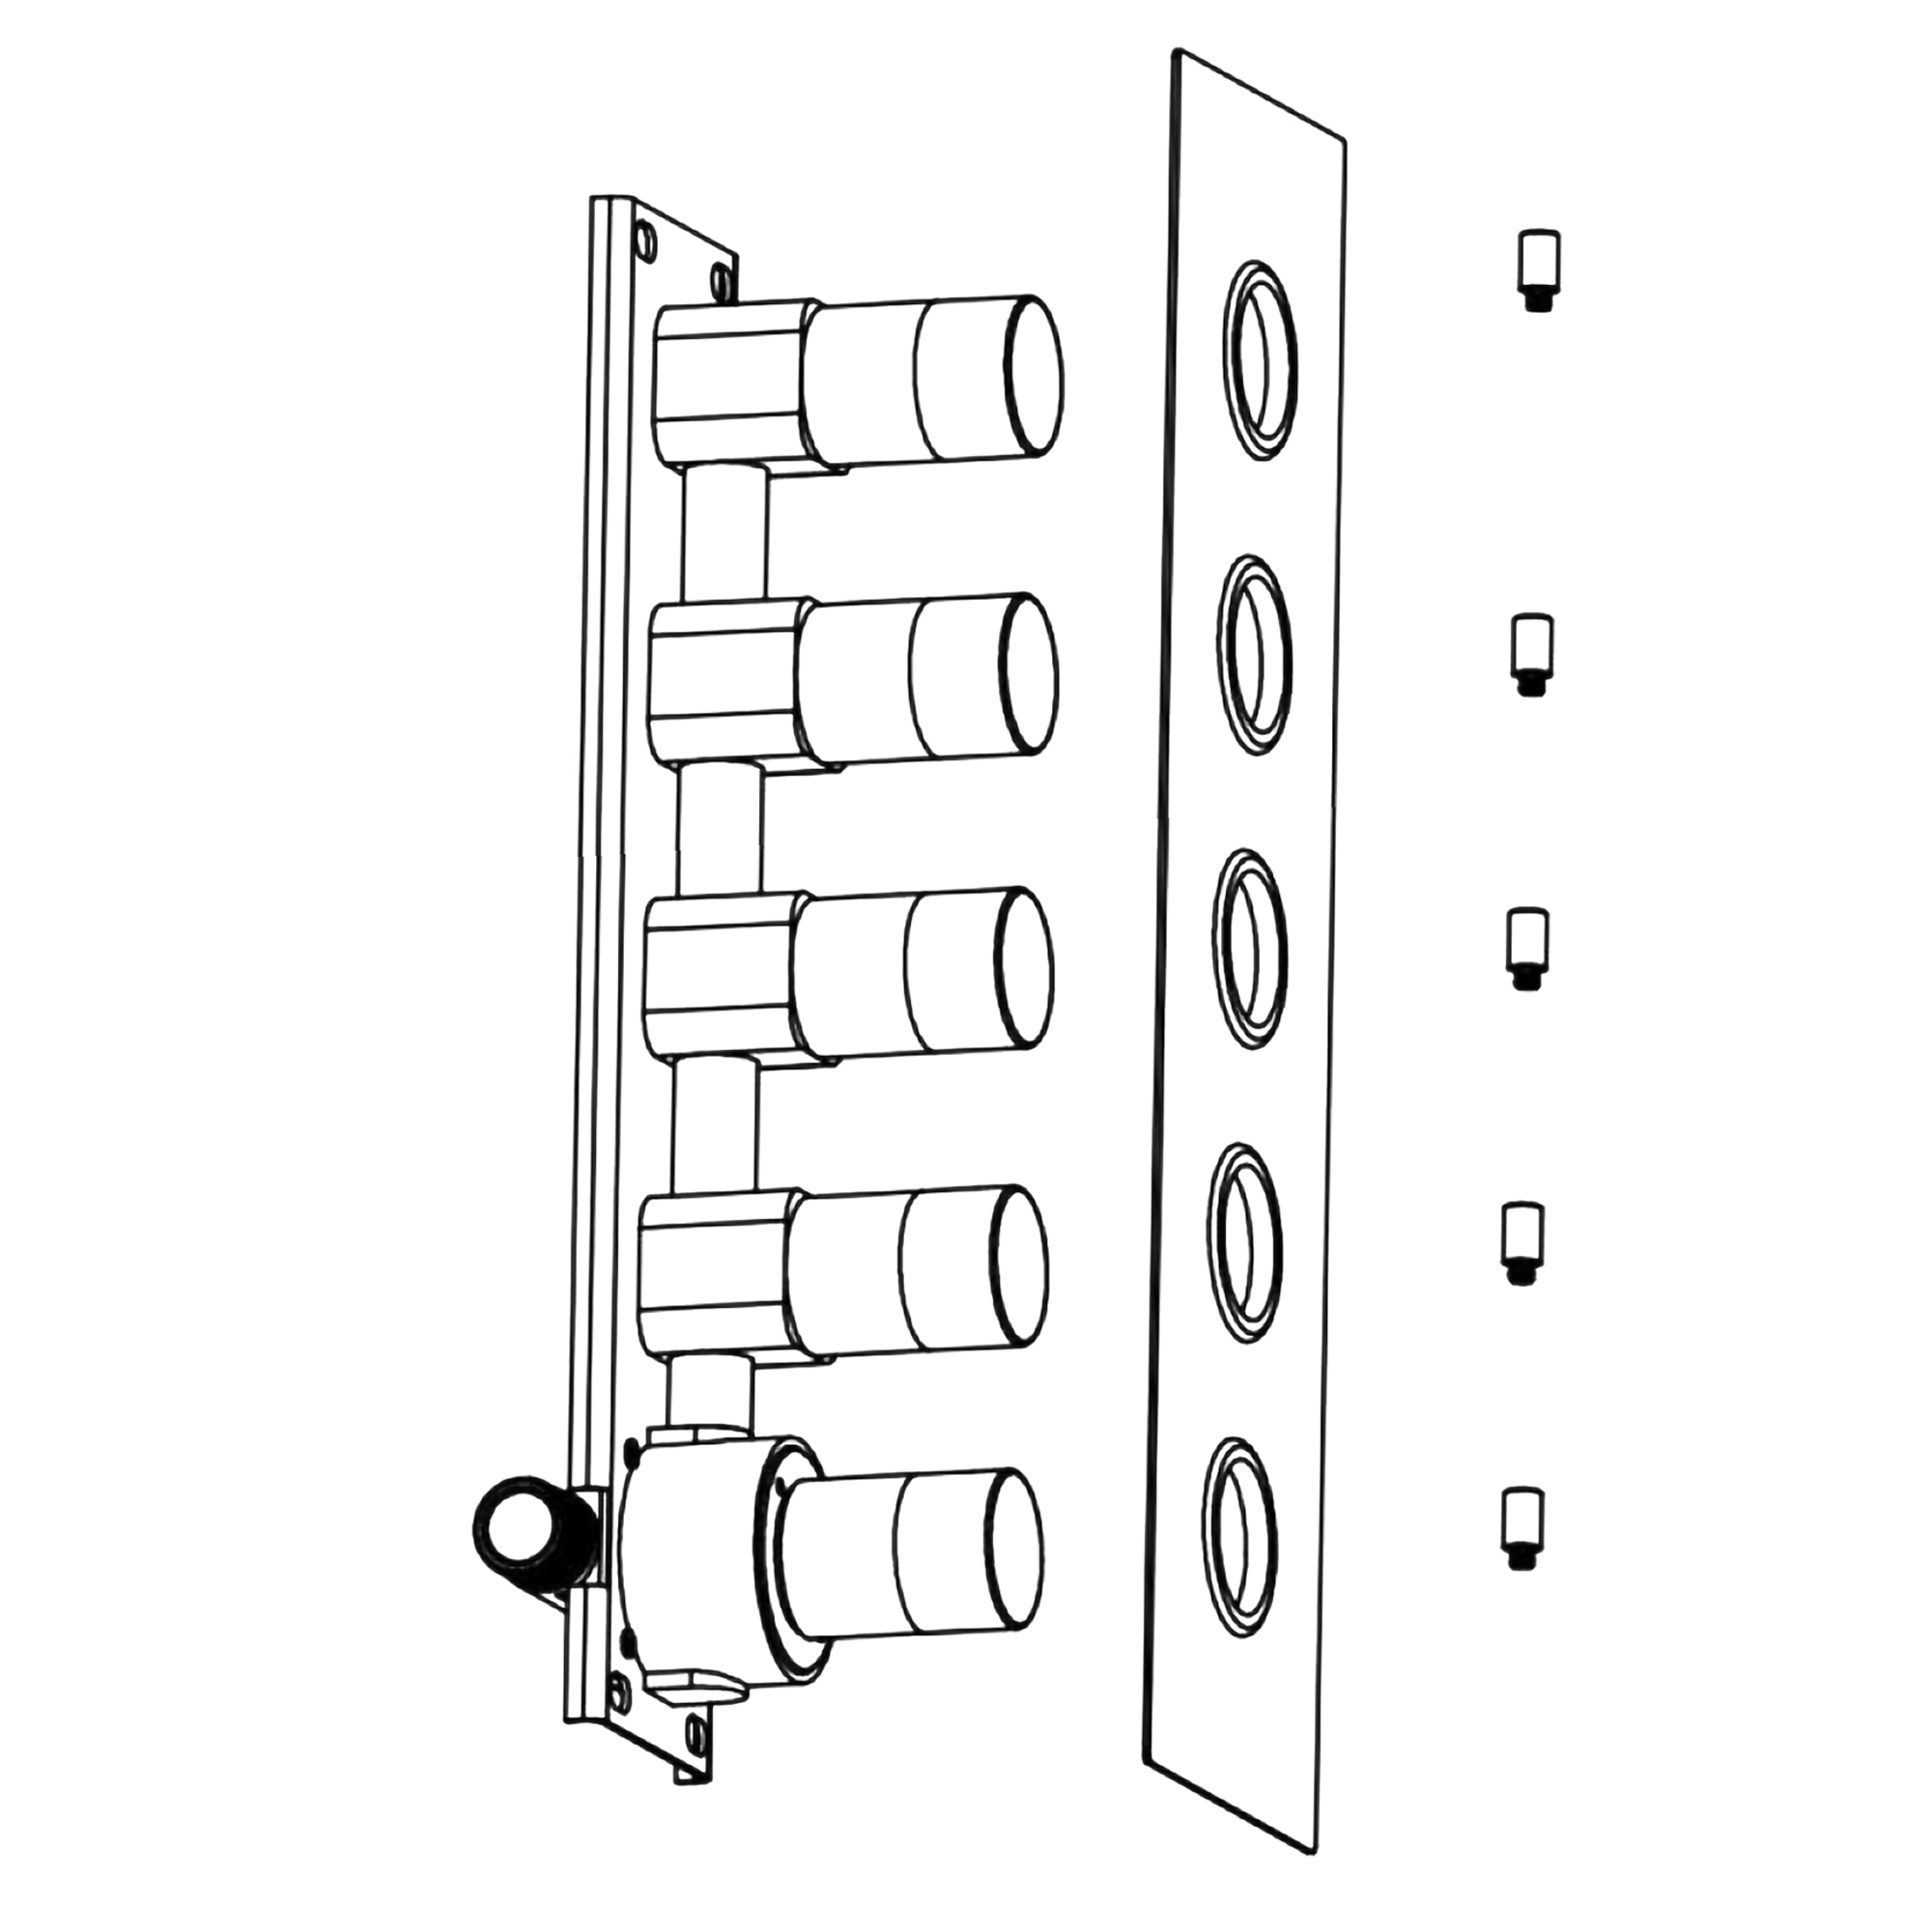 | |
| | | |
|
Please screw the handles out according to the above direction.
|
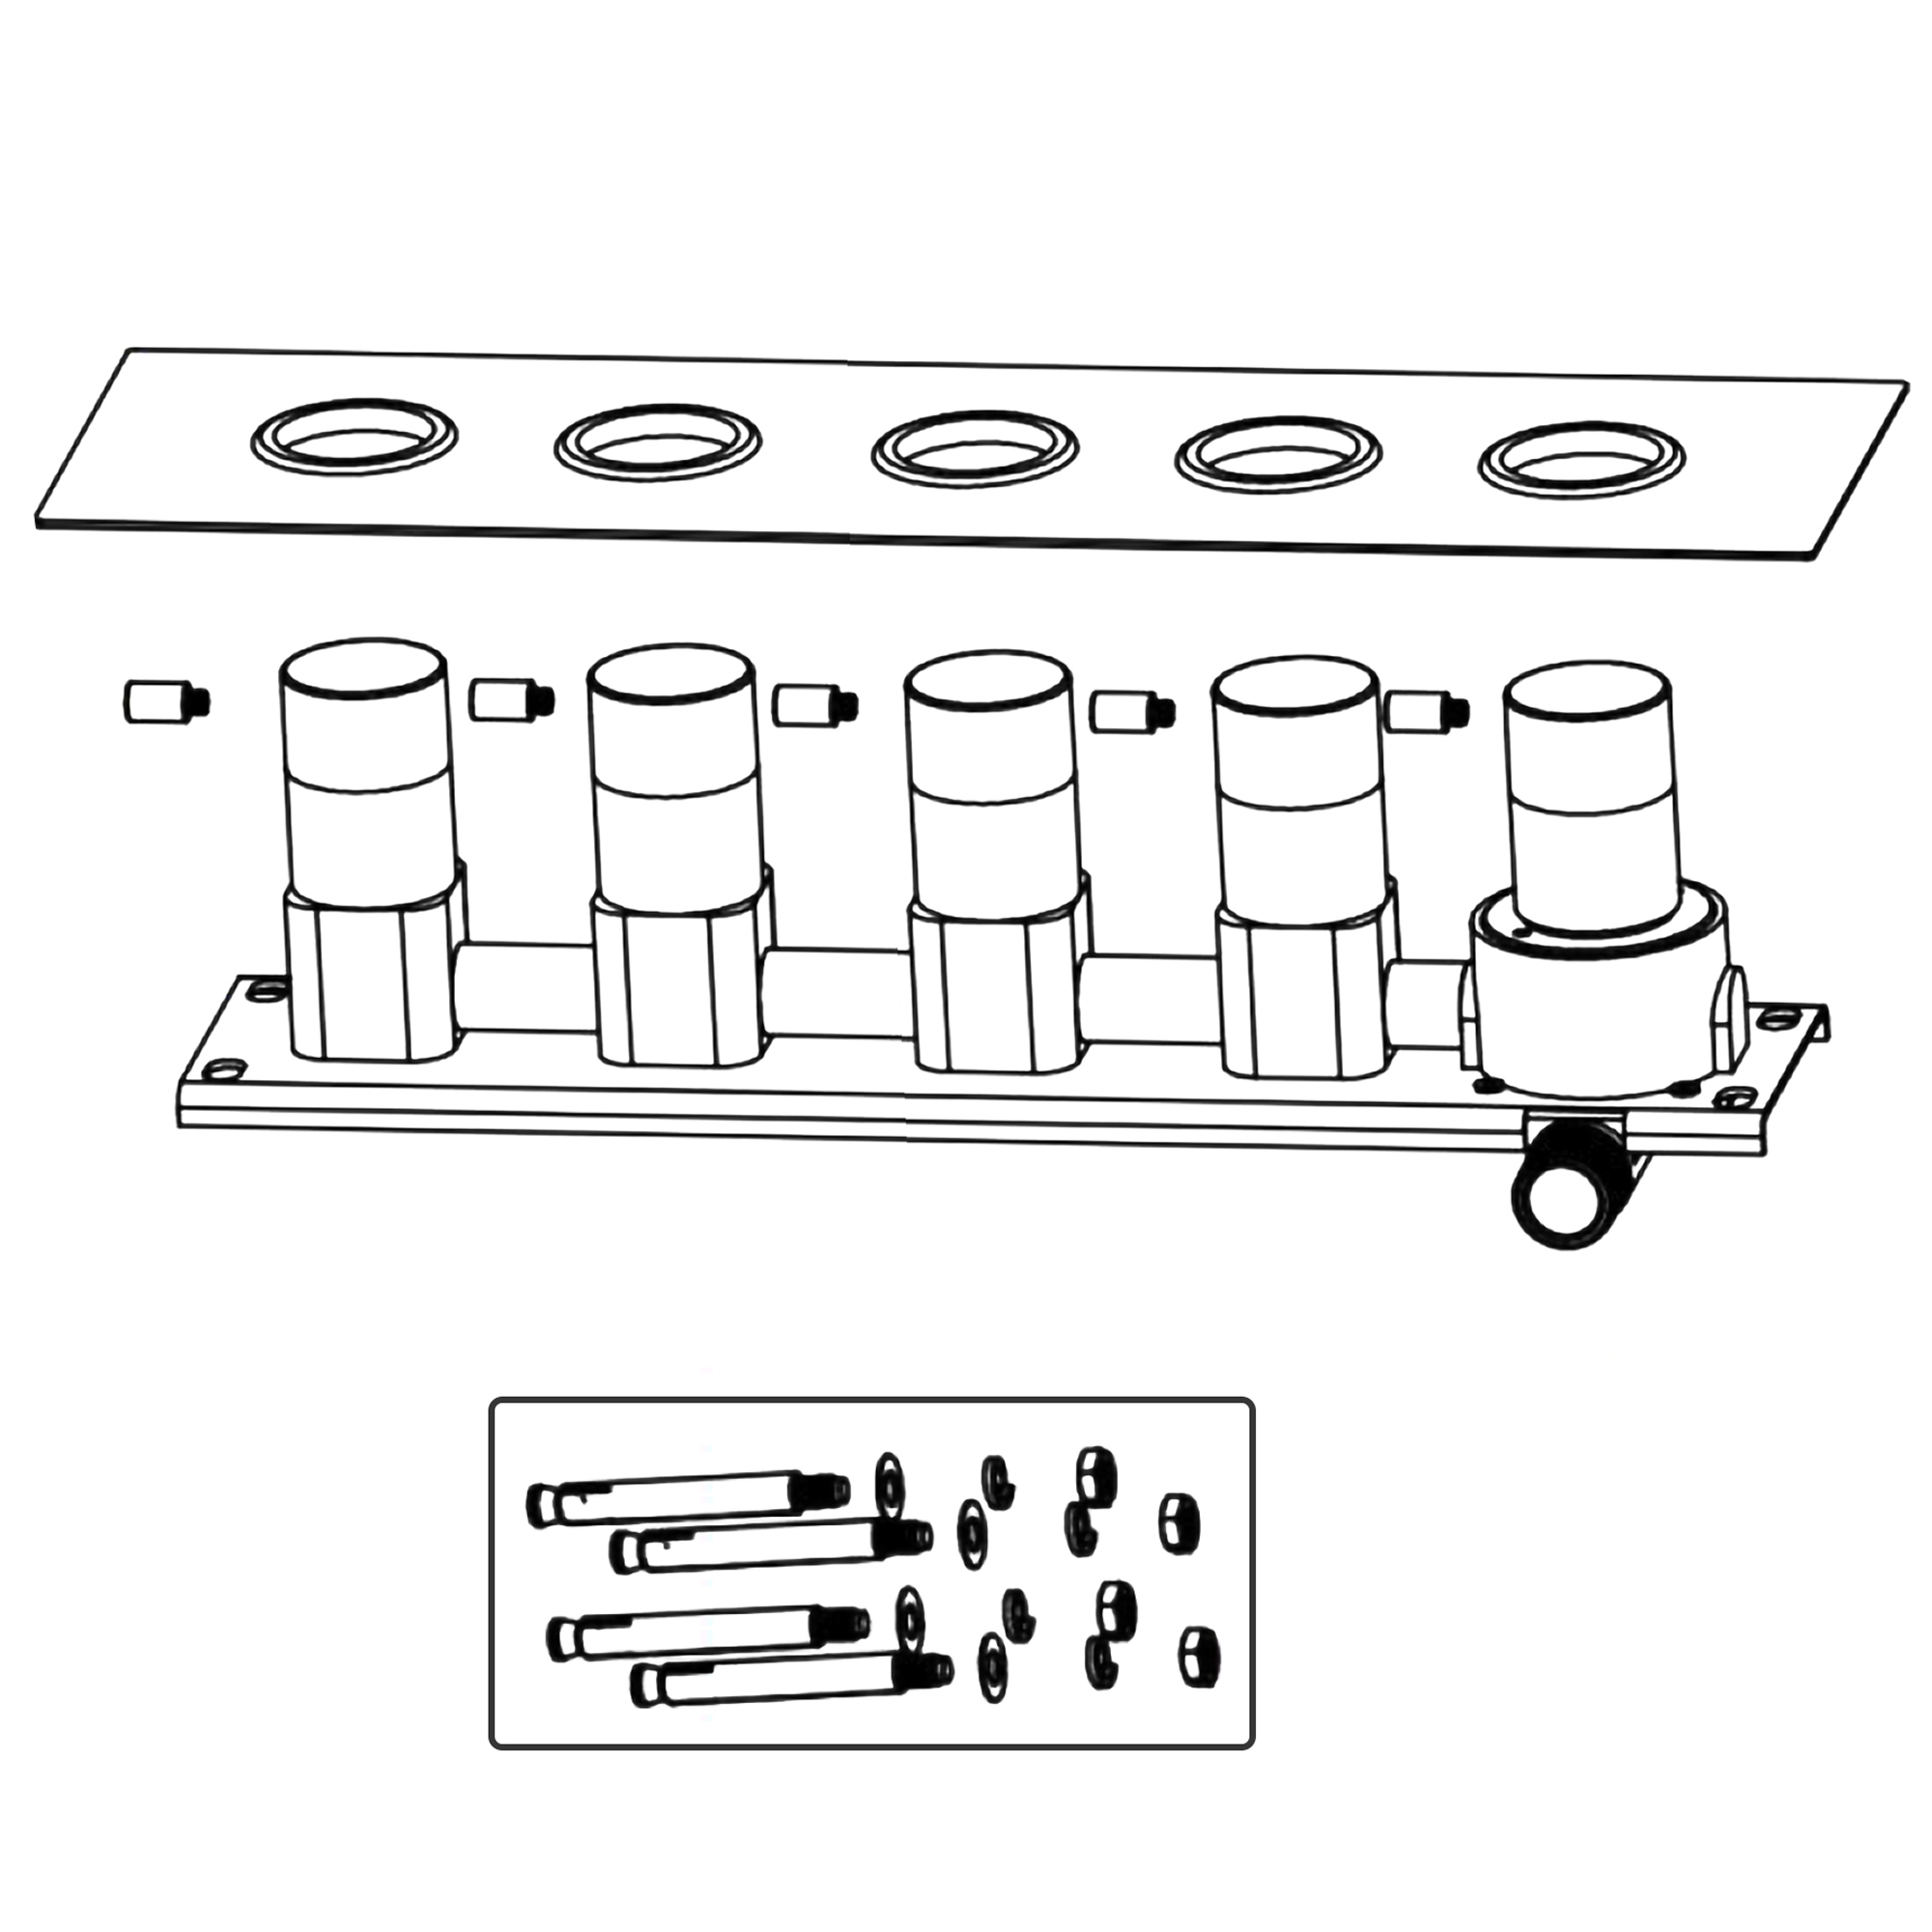
| | | Take board and five handles out of the faucet body.
|
| |
| Mixer Control Valve Installation Instruction | | | | |
| Step 5: | | | Step 6: | |
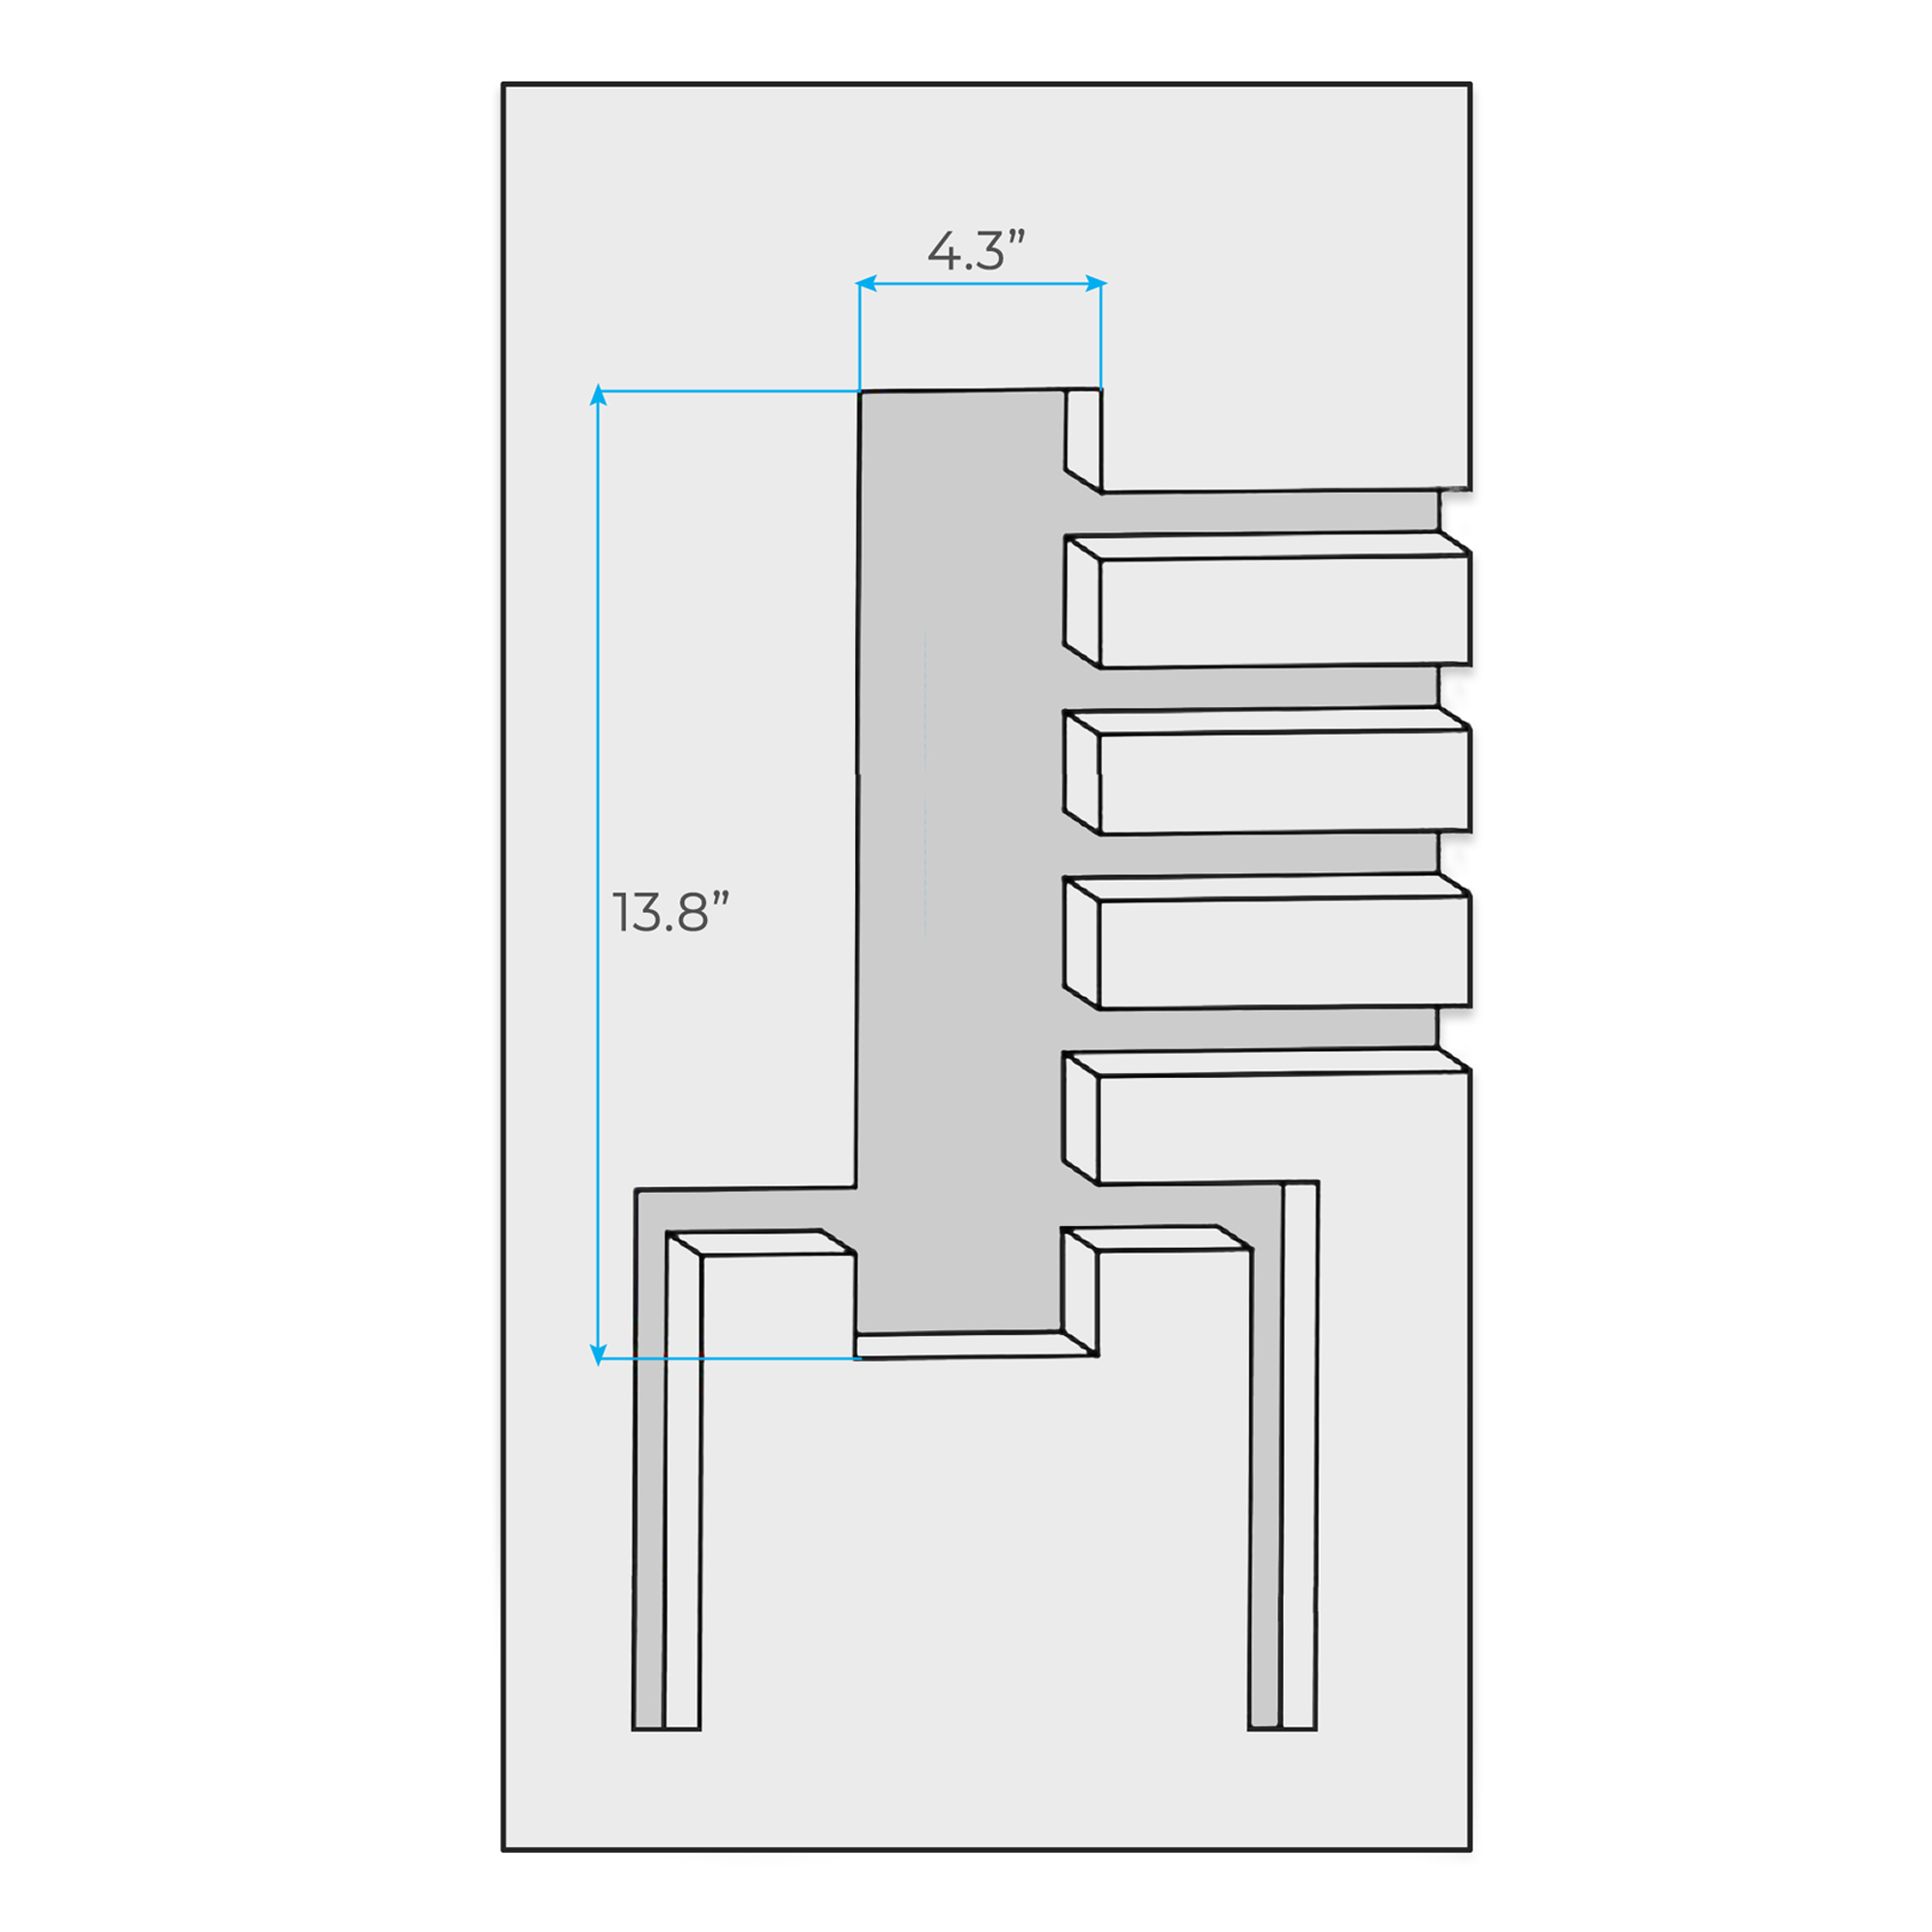 | | |  | |
According to the actual size, get all pipe embedded mounts well ready.
|
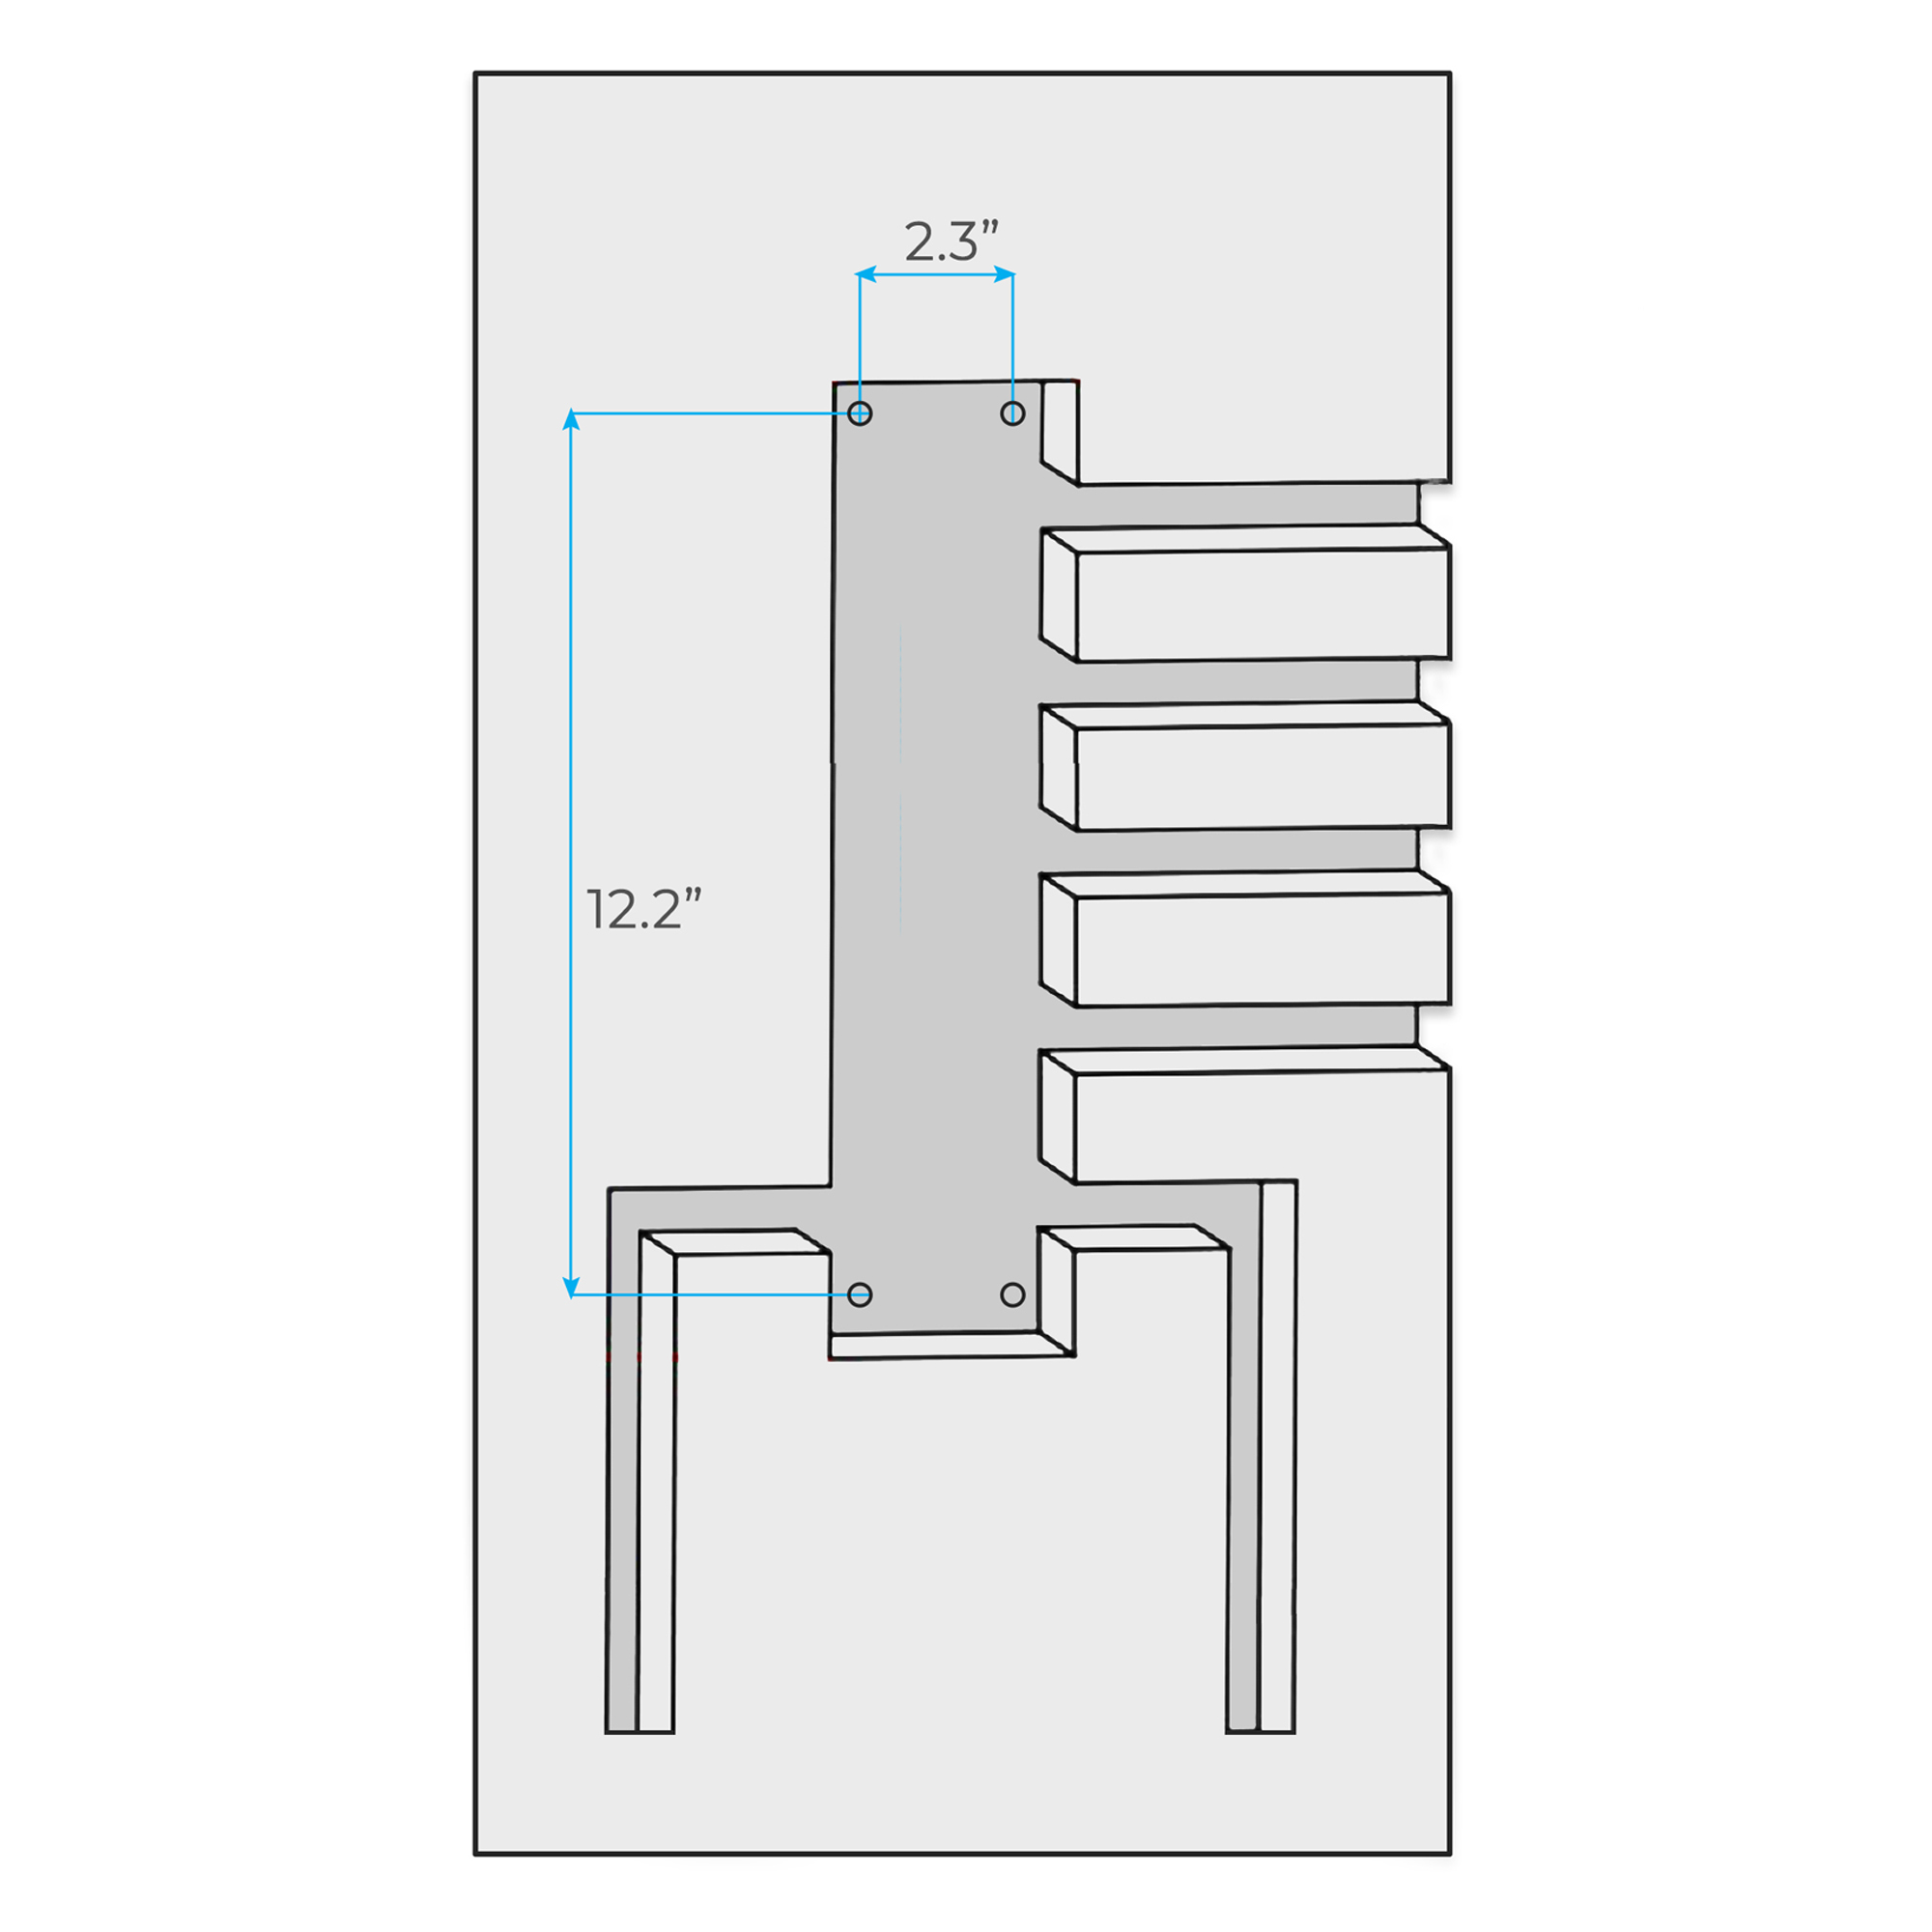
| | | According to the product basic size, dig four holes on the ideal place of the wall.
|
| |
| Mixer Control Valve Installation Instruction | | | | |
| Step 7: | | | Step 8: | |
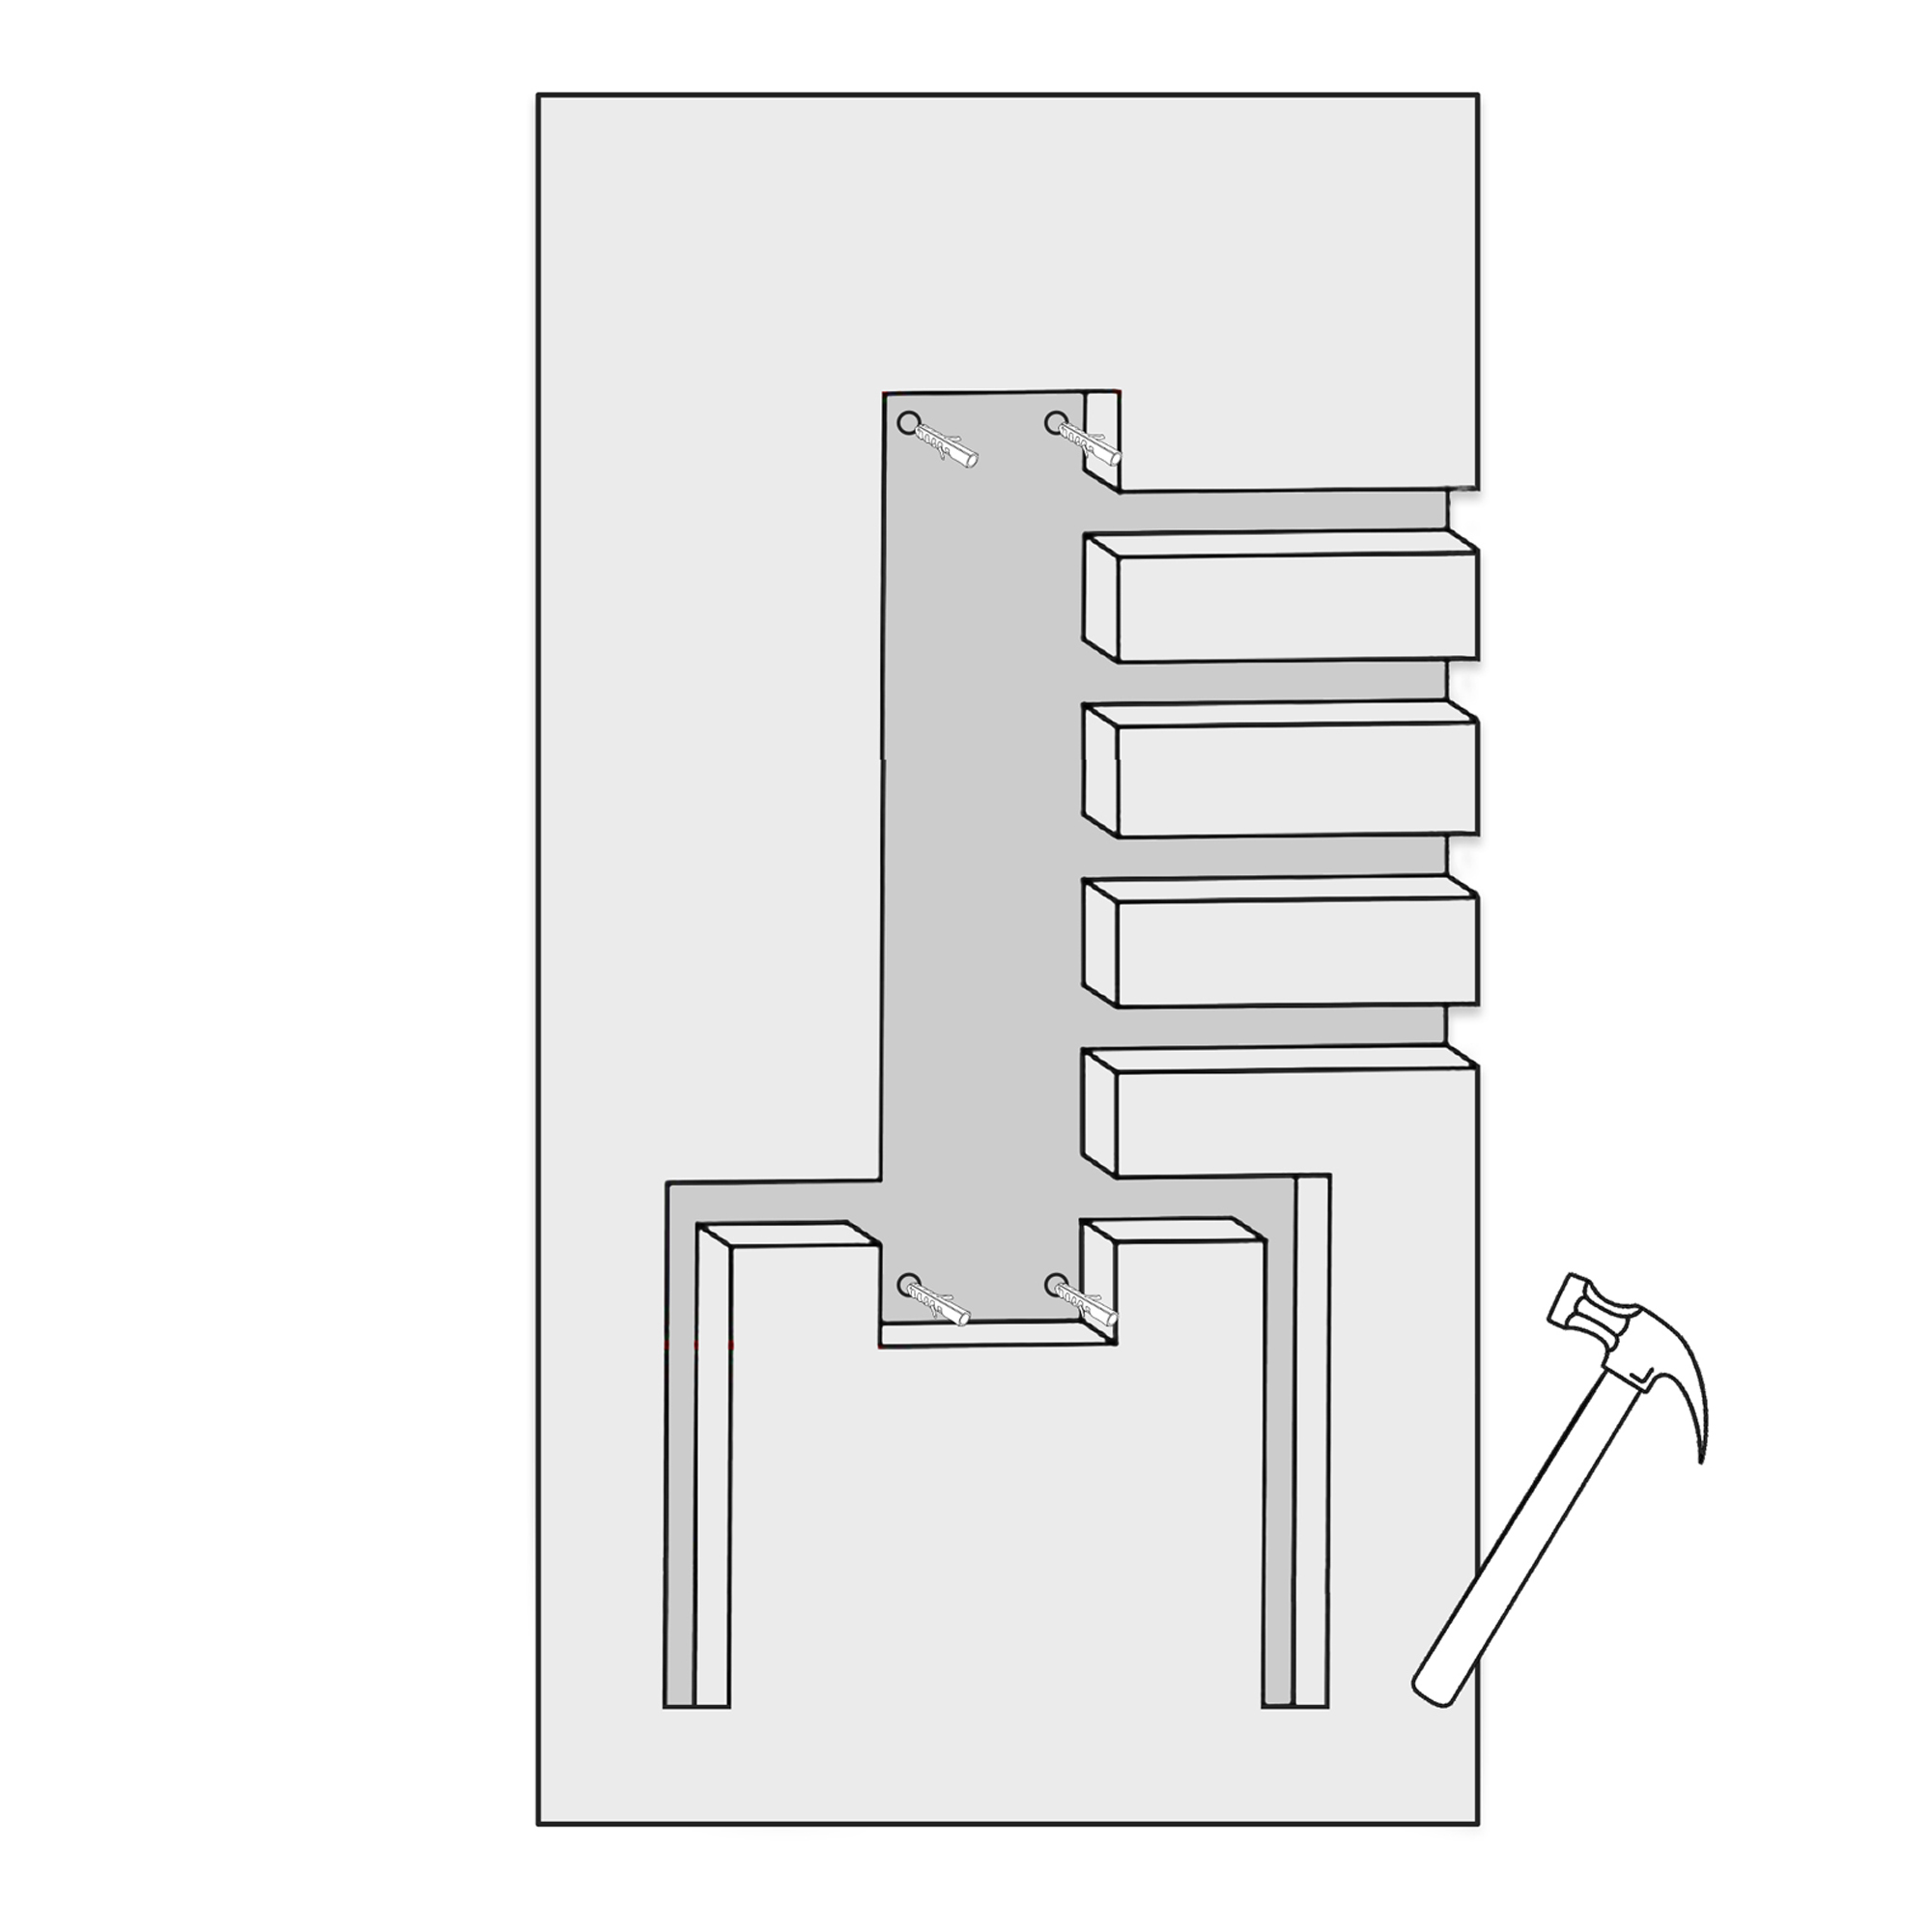 | | |  | |
Place 4 tapping screws into the holes using a hammer.
|
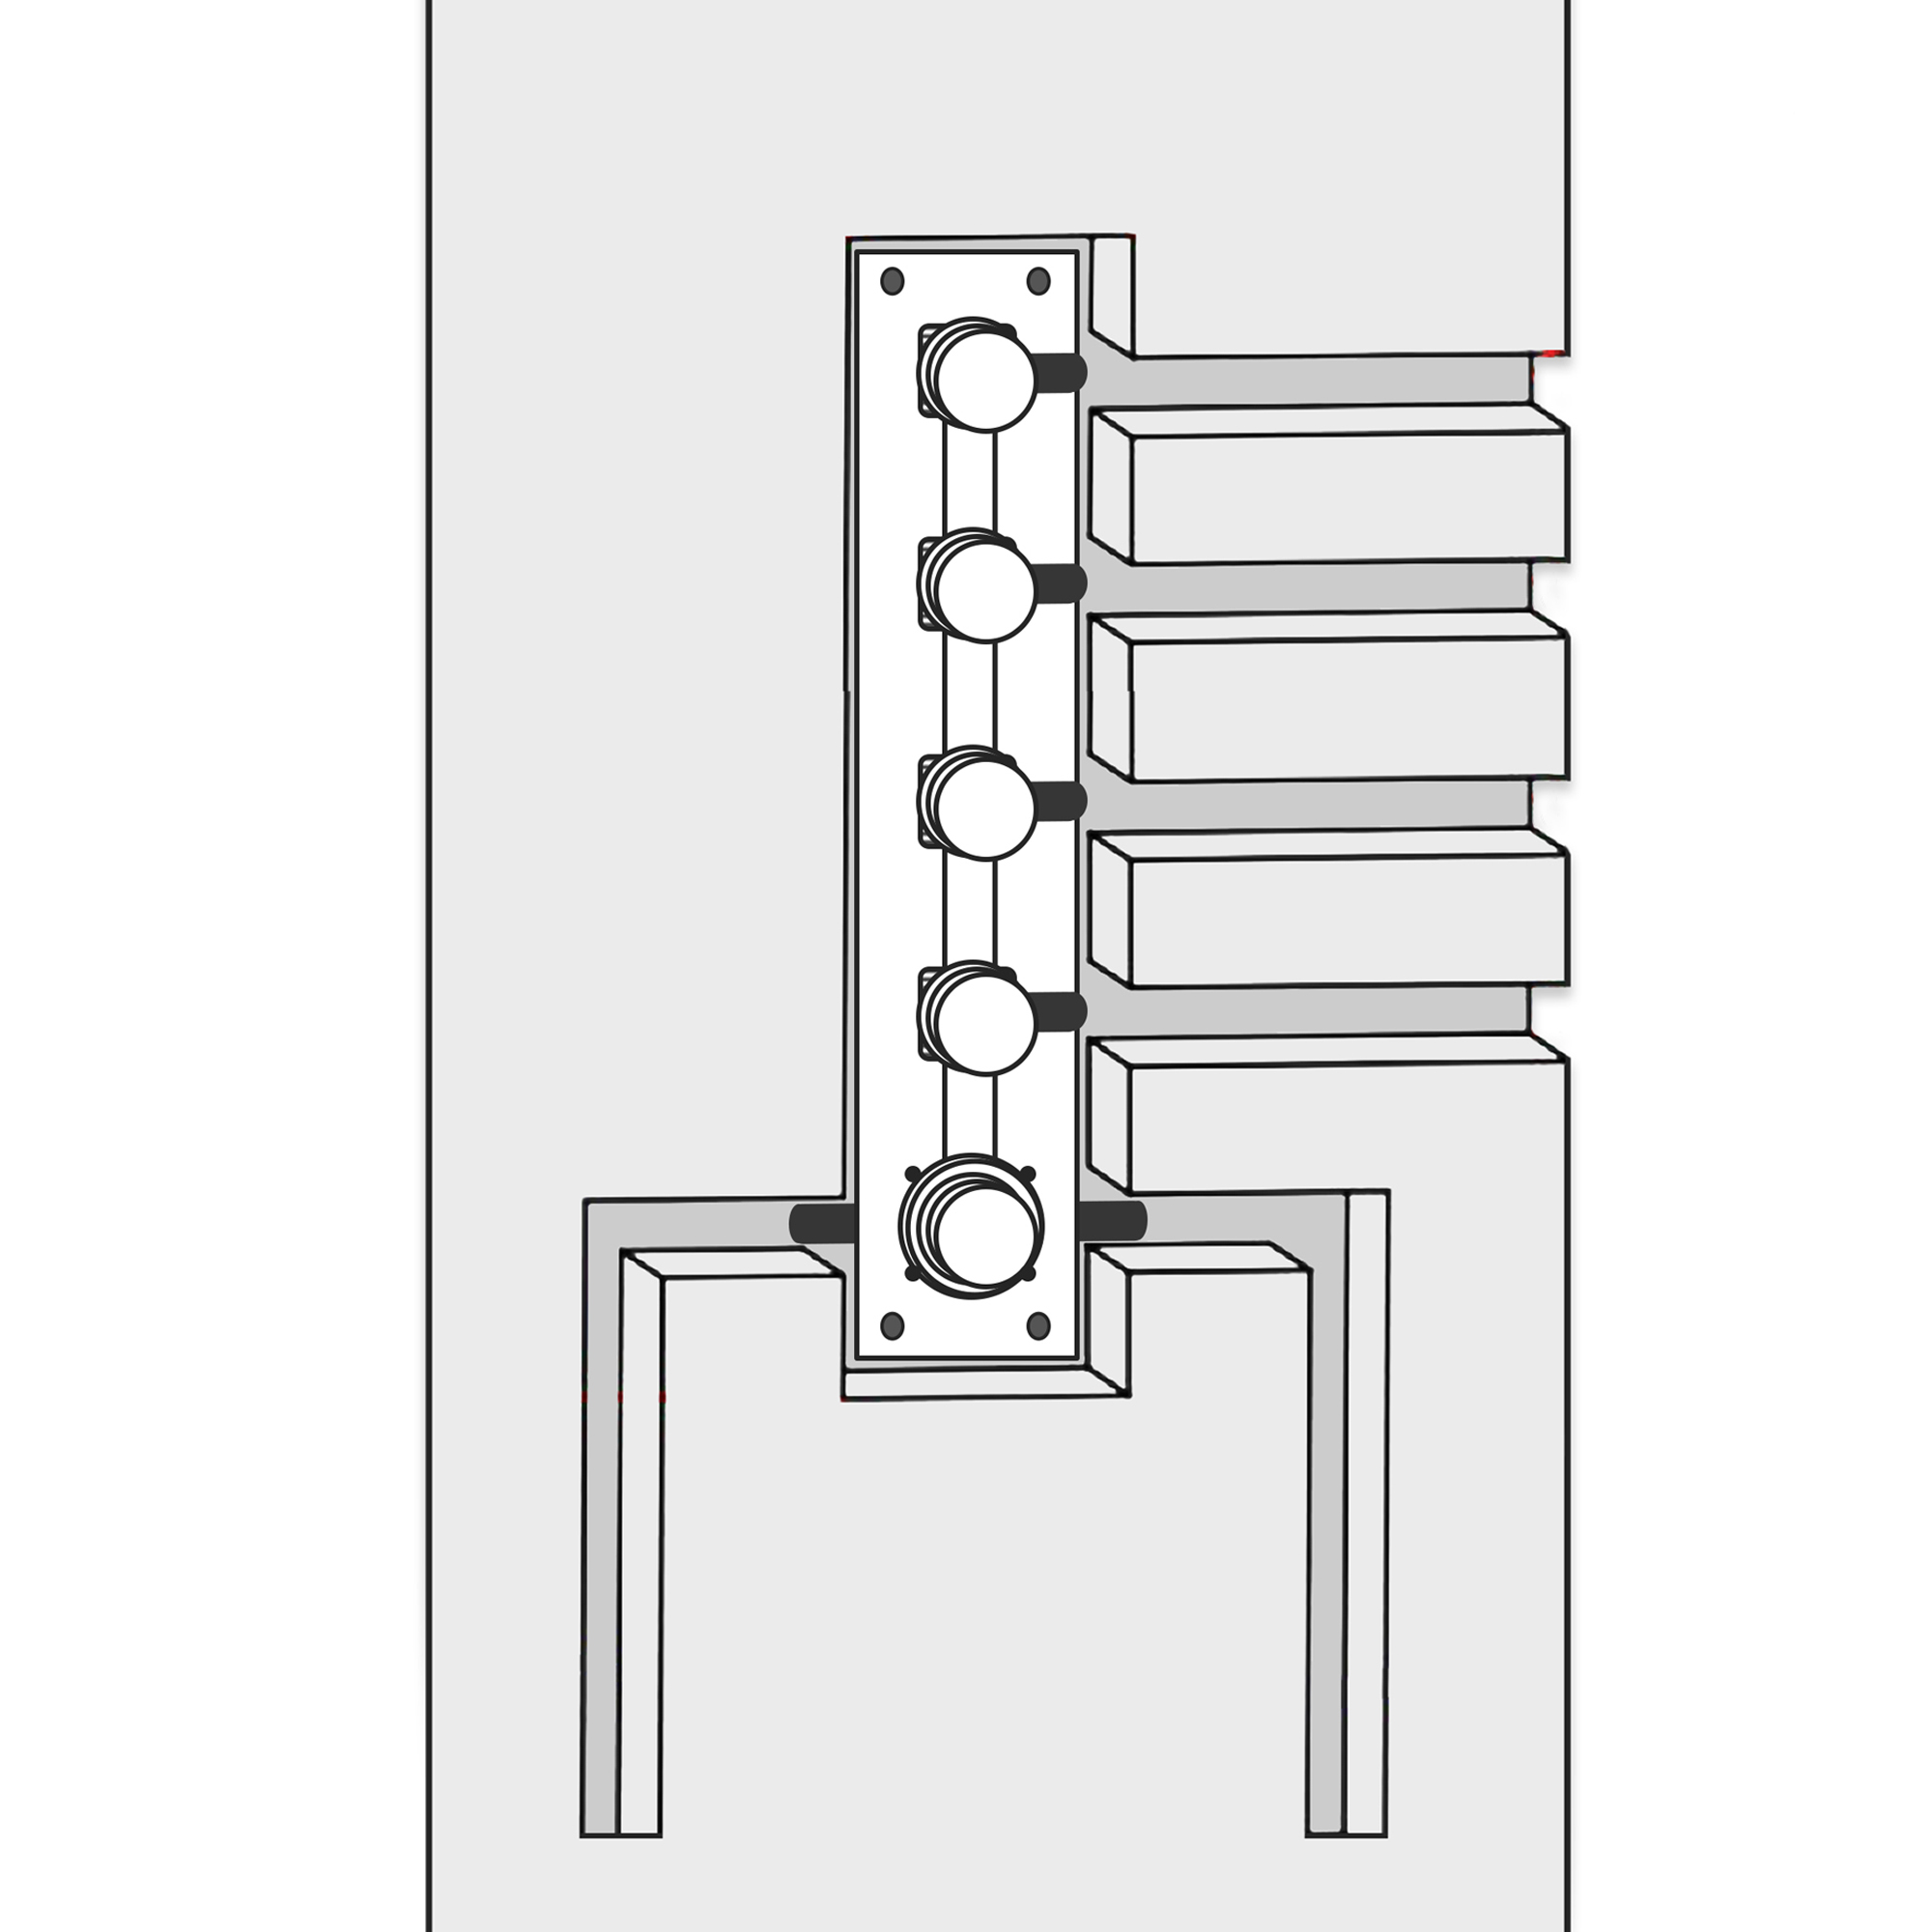
| | | Fix the faucet body by hand. And then take it into the four tapping screws.
|
| |
| Mixer Control Valve Installation Instruction | | | | |
| Step 9: | | | Step 10: | |
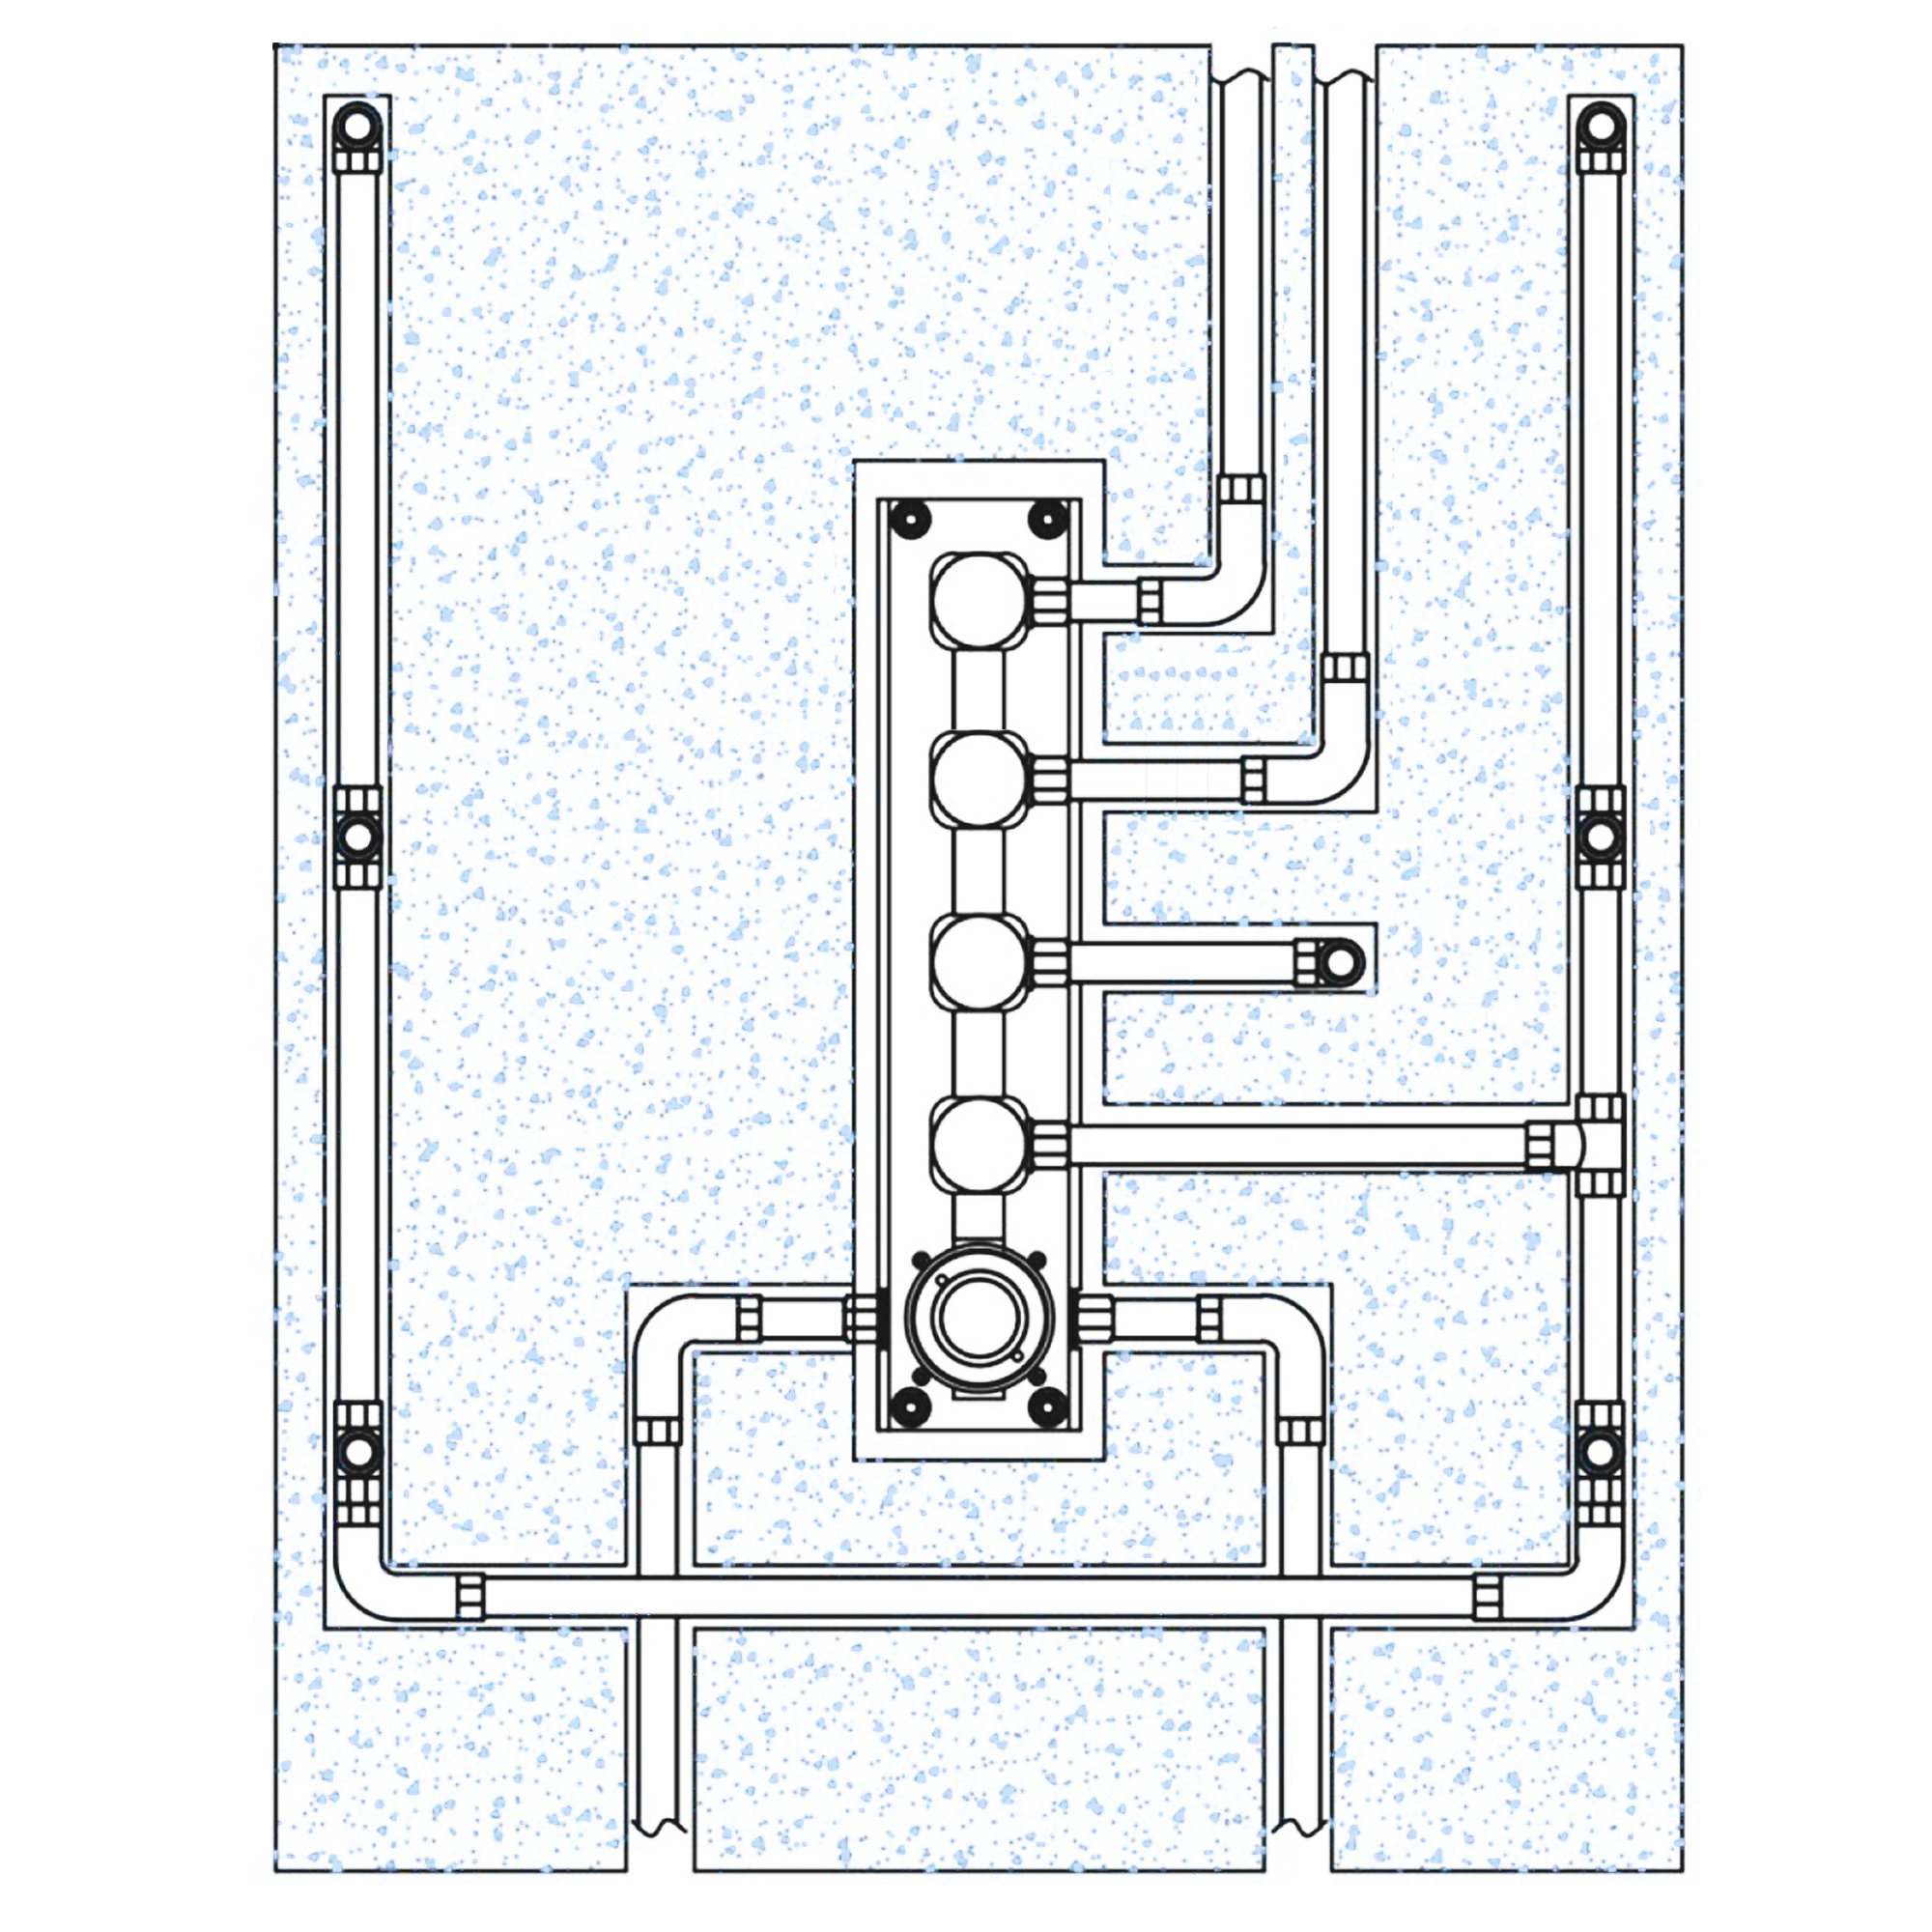 | | | 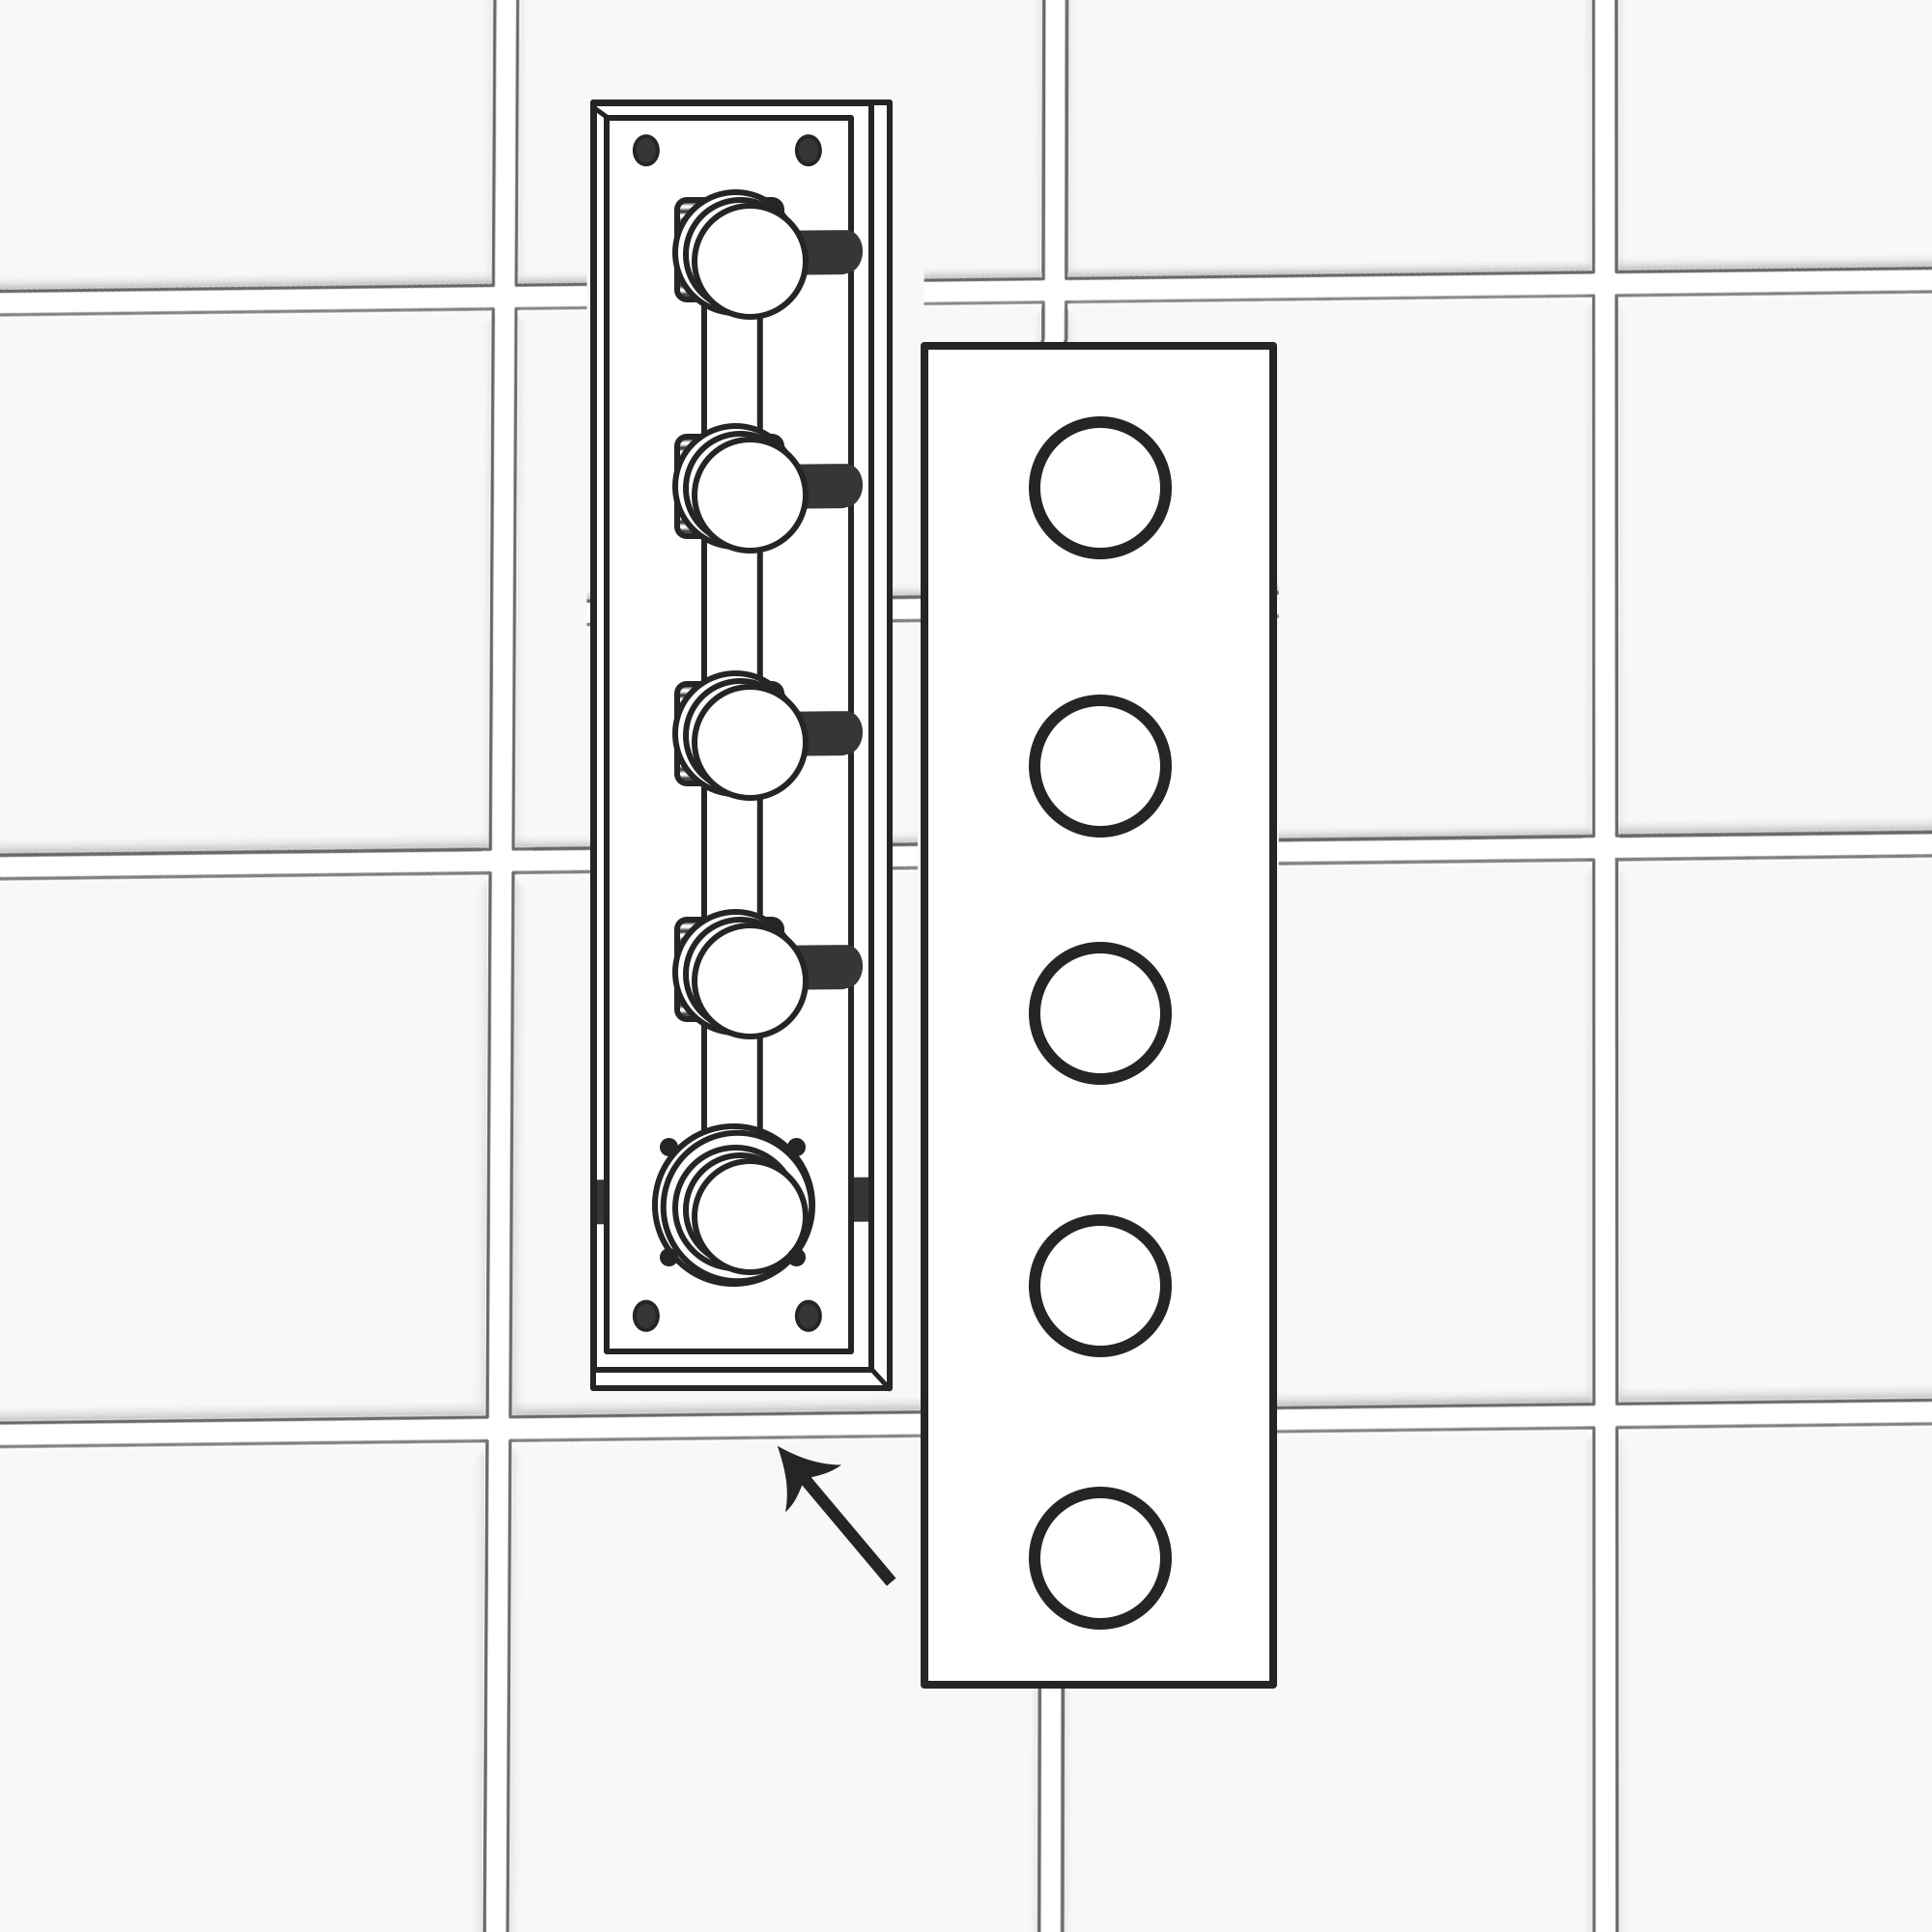 | |
Connect hot & cold supply water pipes (not provided) and other water pipes.
After that, open the water to test if all pipes have leakage or not. At last, seal the wall. | | | Take the board onto the faucet body.
| |
| Mixer Control Valve Installation Instruction | | | | |
| Step 11: | | | Step 12: | |
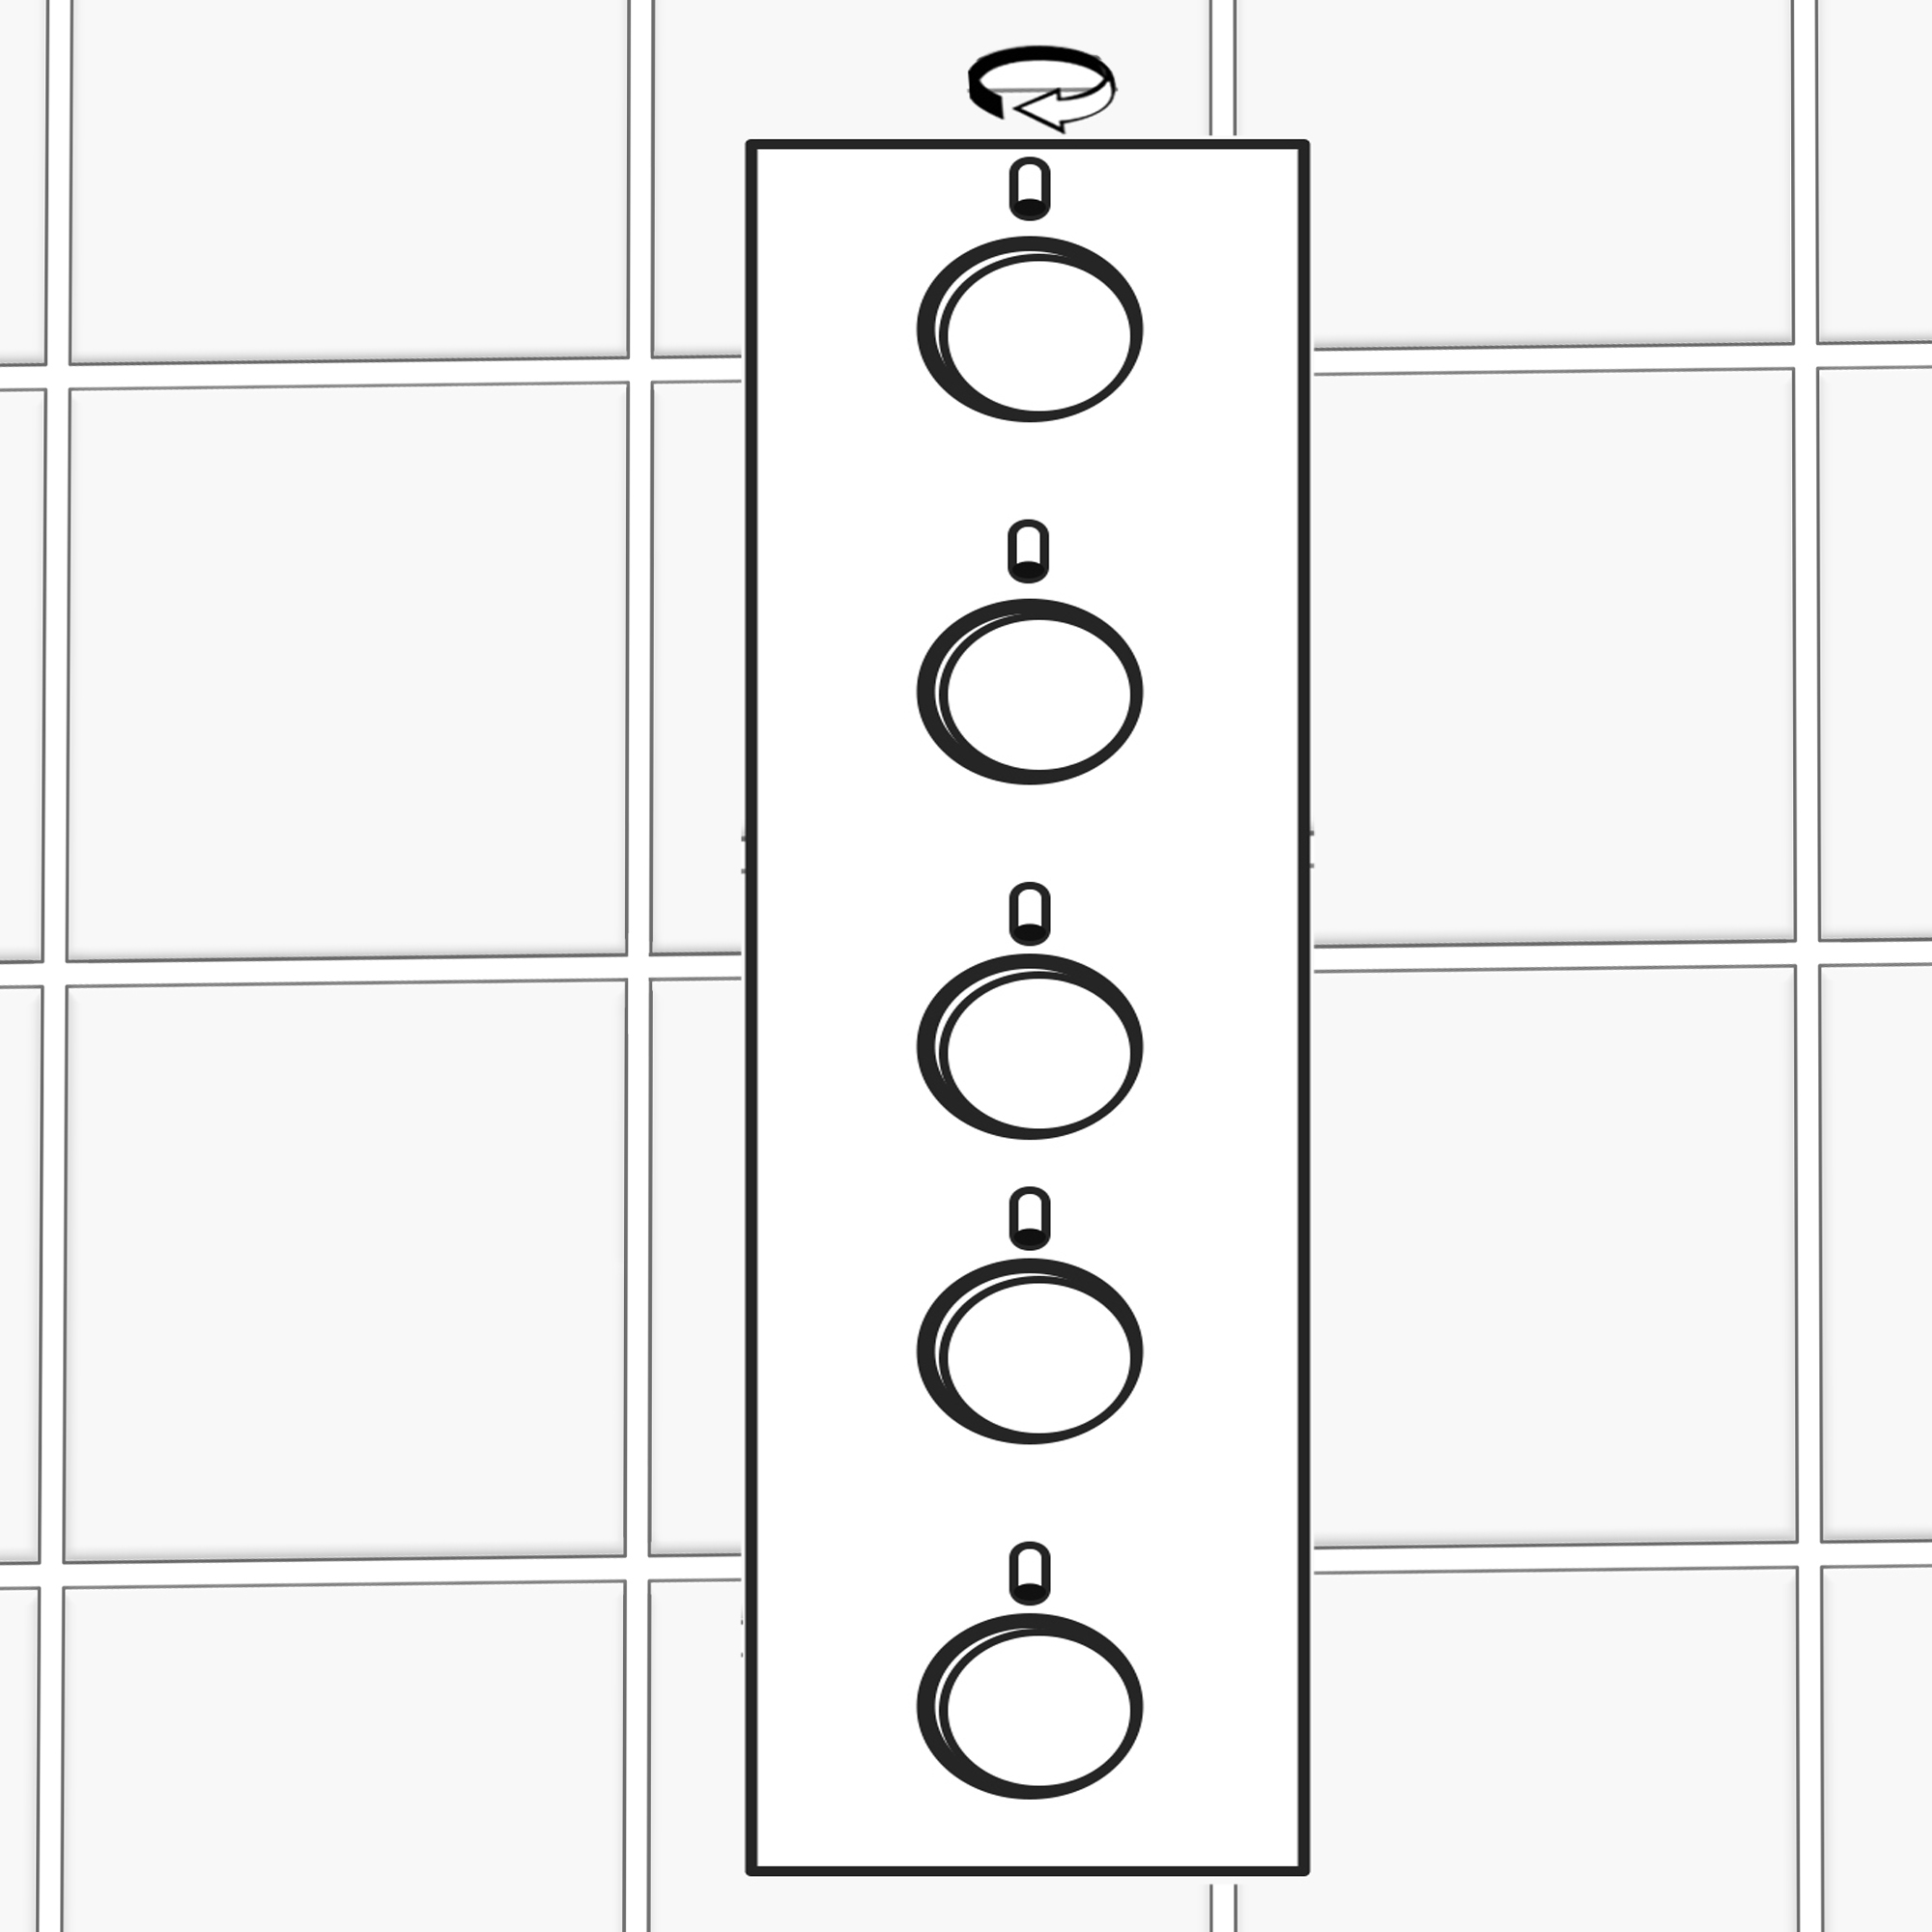 | | | 
| |
Screws the handles into the handwheels.
|
| | | a. Each water function handwheel
b. Tempering handwheel |
| |
| | | | |
| |
|