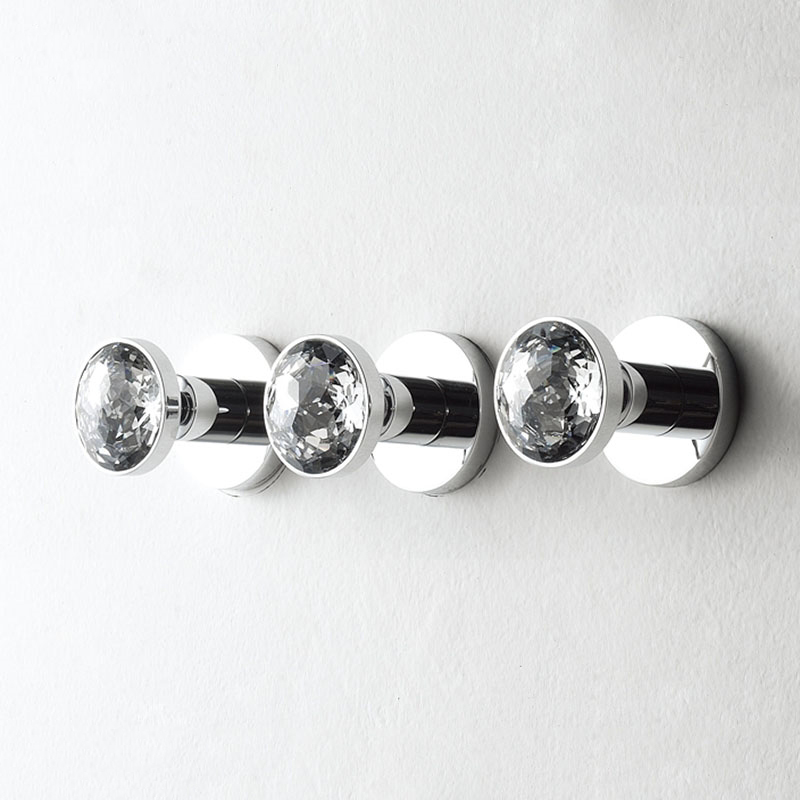
How to install Bravat Modern Three Holes Bathroom Shower Mixer
Here are the simple steps for installing your Shower Mixer Valve:
1. Preparation: Before starting, carefully read the installation instructions and adhere to local building codes.
2. Inspection: Unpack and check for any shipping damages. If you notice any, refrain from installing it.
3. Professional Installation: Ensure installation is done by a certified plumber to avoid warranty voidance.
By following these steps, you'll ensure a smooth and successful installation of your Shower Mixer Valve.
Crystal Thermostatic Mixer Installation Instructions
Shower Mixer Dimension
Step 1

|
Step 2

|
Step 3

|
Step 4

|
Shower Mixer Connection
BEFORE INSTALLATION
First things first, give your pipes a good flush to banish any lurking debris. Then, turn off the mains water supply and make sure any isolating valves are firmly shut. Now, let's get to the fun part!
INSTALLATION STEPS
1. Install the Shower Valve
- If your rear cavity wall needs some extra support, pop in some battens.
- Hold the shower valve in its future spot and mark where those fixing holes need to be.
- Drill away, pop in wall plugs if necessary, and screw that valve into place like it's the star of the show.
2. Connect the Water Supply Pipes
- Grab those 15mm hot and cold water supply pipes, insert them into the inlet connections, and tighten those nuts.
- Don't forget the olives – they might sound tasty, but they’re crucial for a snug fit.
3. Plumb in the Outlets
- Time to direct the water flow! Insert 15mm pipework into the top and bottom outlets and connect these to your chosen products.
- Again, ensure those olives are in place when you’re tightening the nuts. No loose ends here.
4. Finish the Wall Surface
- Dress up that cavity wall with plasterboard and tiles but leave a little gap around the shower valve.
- Think of it as giving the valve its personal space.
5. Fit the Concealing Plate and Handles
- Run a bead of waterproof silicone sealant around the inner edge of the concealing plate.
- Slide the plate onto the shower valve, applying firm pressure to spread that sealant like icing on a cake.
6. Fit the Handles
- Push the spline adaptors onto the valve spindles, then slide on the handles.
- Tighten the grub screw, and push-fit the cap into position. Voila! The handles are now your valve’s crowning glory.
7. Create Rear Access
- Rear access is essential for any future maintenance or service needs.
- Cut out the rear plasterboard in the wall cavity to create a handy access point.
- You can cover this hole with a piece of plasterboard or a panel, but make sure it’s removable.
- After all, we don’t want to make future-you curse current-you.
So, you've got the shower valve in place. Now, finish up the wall and tile around it. Oh, and don't forget to leave some rear access for future maintenance.
By adhering to these precise instructions, you can guarantee the correct installation and upkeep of your shower valve.
Bravat Modern Three Holes Bathroom Shower Mixer
Ready to give your bathroom a makeover? The Bravat three-hole bathroom mixer is here to add that modern flair you’ve been dreaming of. Its chrome finish is so reflective, you might find yourself using it as an extra mirror. Yup! This isn’t just another pretty faucet. With its unique design, it’s bound to give you a different—and delightful—user experience every time you turn it on. Crafted from top-notch materials, this mixer is as elegant as it is durable, proving that style and substance can indeed go hand in hand. Inside, it boasts super seal technology, ensuring superior performance and a long, drip-free life. Think of it as the perfect blend of sleek design and reliable functionality. Upgrade your bathroom with the Bravat mixer, and enjoy a modern, cool look that lasts.
Features:
|
Brand Name: Bravat
Product Code: FS9525
Type: Shower Mixer
Installation Type: US Standard
Number of Handles: Dual Handle
Install: Wall Mount
Installation Hole: Three
Color: Chrome
Style: Contemporary
Surface Finish: Brass
Valve Core Material: Ceramic
Surface Treatment: Polished
Function: Fixed Support Type
Usage: Bathrooms, Hotels, Restaurants Etc.
|

|